Introduction
The akaBot Agent is an execution agent that enables you to run processes built in akaBot Studio or deployed from akaBot Center.
This document aims to guide you how to use the akaBot Agent.
Using akaBot Agent
To operate a bot, you need to follow below actions:
- Configure network setting to open connection to the akaBot Center if needed.
- Configure bot setting & connect to akaBot Center.
- Get processes from akaBot Center or akaBot Studio.
- Control the processes by running/stopping a process, upgrading a processes to new version.
To open the akaBot Agent, you need to:
– Click system tray to show hidden icons.
– Right click akaBot icon.
– Select Show akaBot Agent.
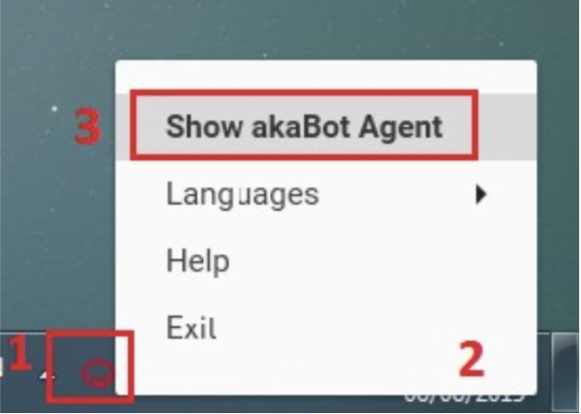
After that, akaBot Agent program is displayed on screen as below:
Configure network setting
If your network requires the proxy to get access to the akaBot Center, you need to firstly configure the proxy setting to open the connection by performing below steps:
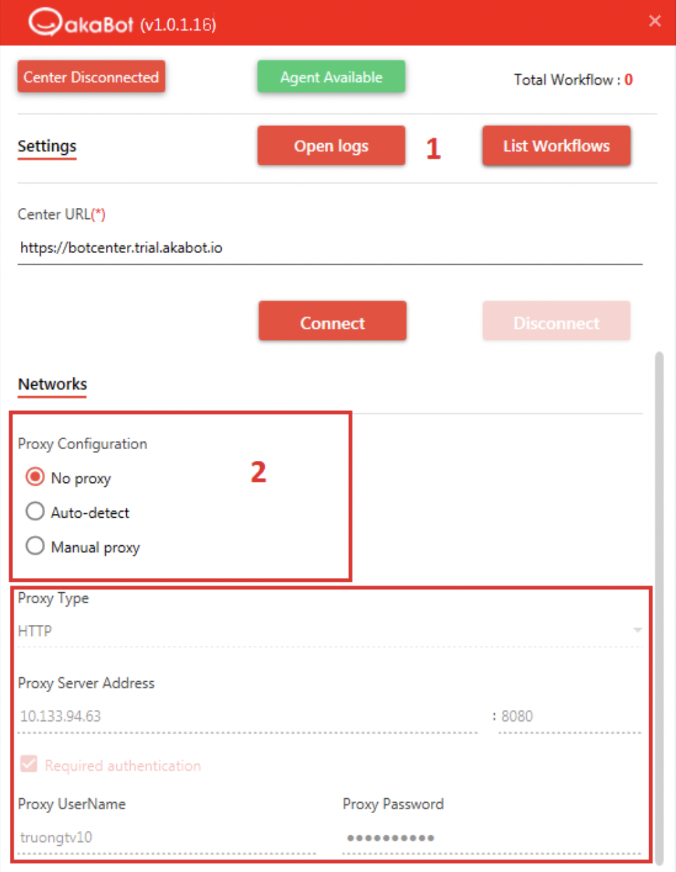
Step 1: In Settings screen ( if in the List Workflows screen then select Settings button).
Step 2: Select proxy configuration option.
If select No proxy or Auto detect option, no further actions are required.
If select Manual proxy option, you need to specify the proxy setting:
- Select a proxy type.
- Fill proxy server URL.
- Fill proxy port.
- If the proxy requires the authentication, check option Required Authentication then fill user name, password to authenticate.
Configure bot setting & connect to Bot Center
To connect the bot to akaBot Center, you need to register the bot setting in the akaBot Center first to have an Agent Key.
To register the bot to akaBot Center, you may follow the instruction here.
After having the Agent Key, you can perform below actions to connect to the akaBot Center.
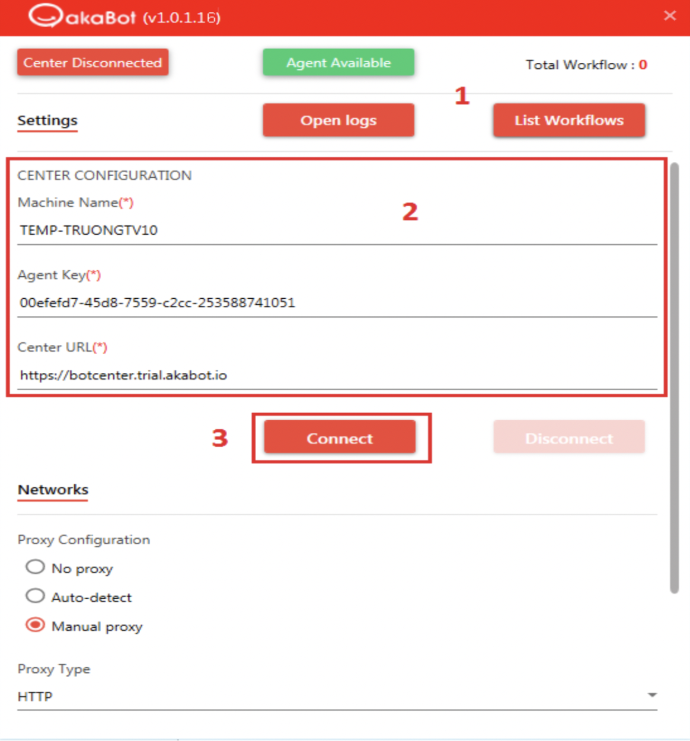
Step 1: – In Settings screen ( if in the List Workflows screen then select Settings button).
Step 2: – Fill information into Central Configuration form.
- Machine name: the computer name of current computer. The machine name is automatically pre-populated for you.
- Agent key: the key registered to the akaBot Center.
- Center URL: akaBot Center URL.
Step 3: – Click Connect to perform the connecting to the Bot Center.
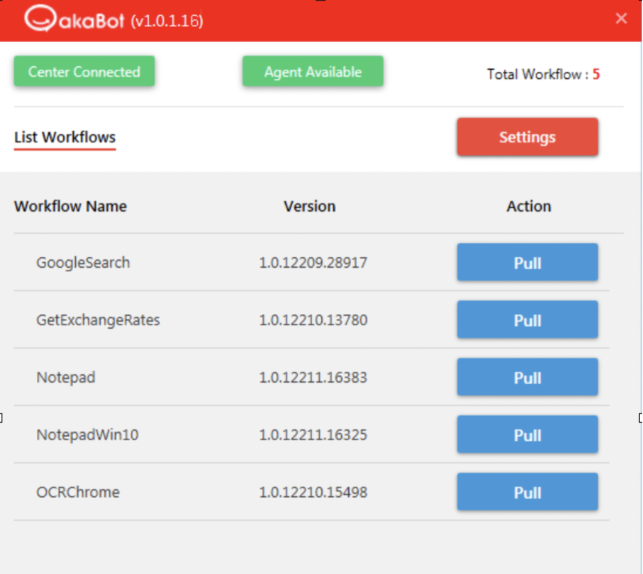
After connecting successfully, status of akaBot Center turns to be Connected.
If the bot is already connected to the akaBot Center, you can disconnect at any time by clicking Disconnect button.
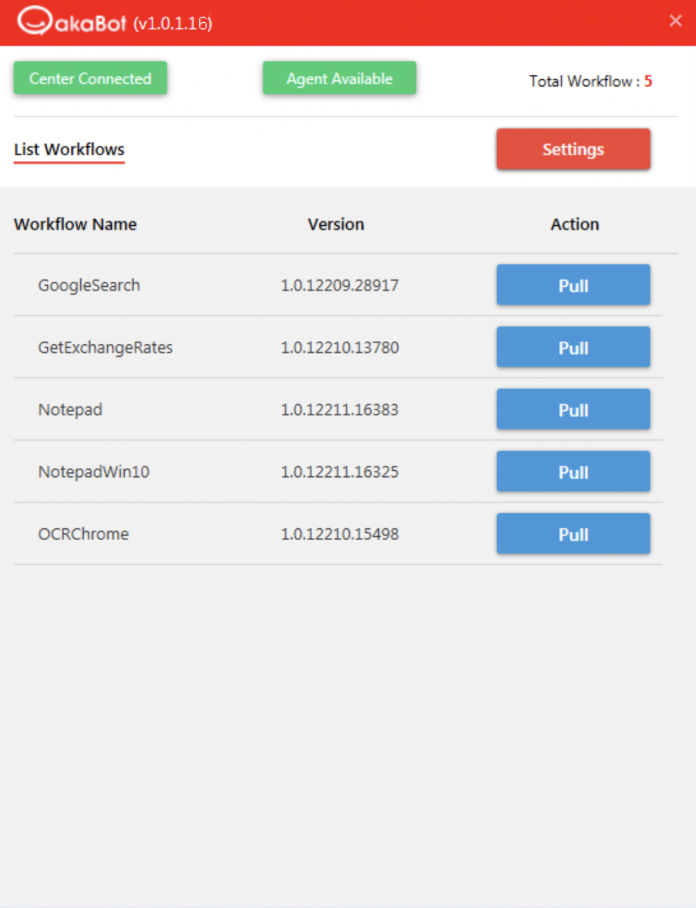
Get processes from akaBot Center or akaBot Studio
Every 10 seconds, the akaBot Agent will automatically be refreshed to get all the process packages published from the akaBot Center.
You can refer the link for how to publish a package from the akaBot Studio.
Control the processes
For a process, you can control by performing below actions:
- Pull a package.
- Start a process
- Stop a process
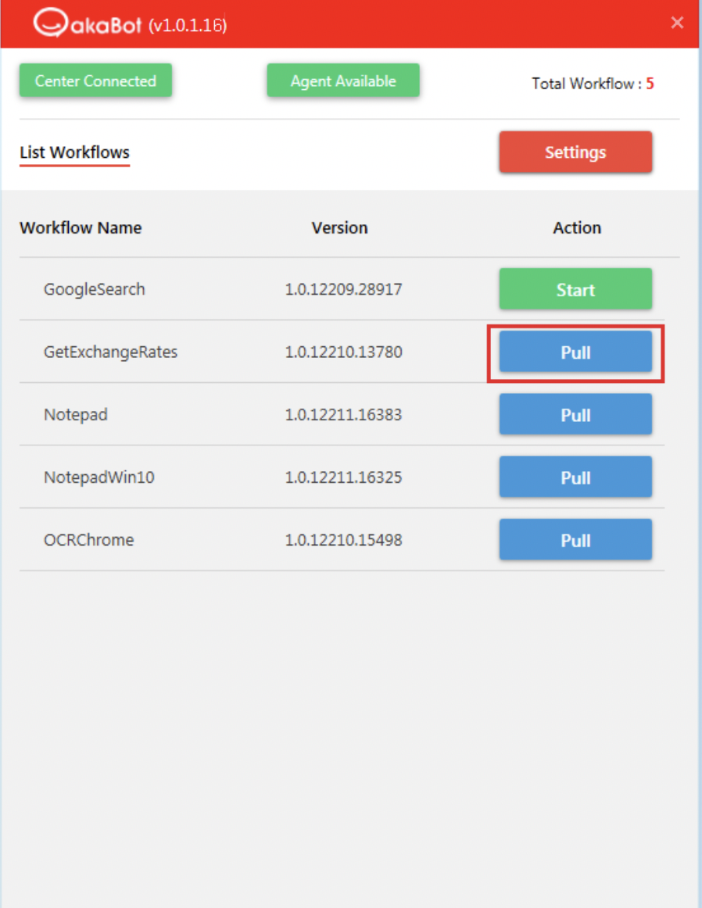
1. Pull new version of a package
To pull a version of package, you need to click on Pull button. The akaBot Agent will automatically download the new version of package to the local machine.
After downloading, the changes in new version will be automatically applied in the next running.
2. Start a process
You can only start one process in one moment.
To start a process, you need to click Start button.
For a new process, you need to full the package to the local machine firstly then start the process.
After clicking Start button, the process starts to act as defined in the workflow.
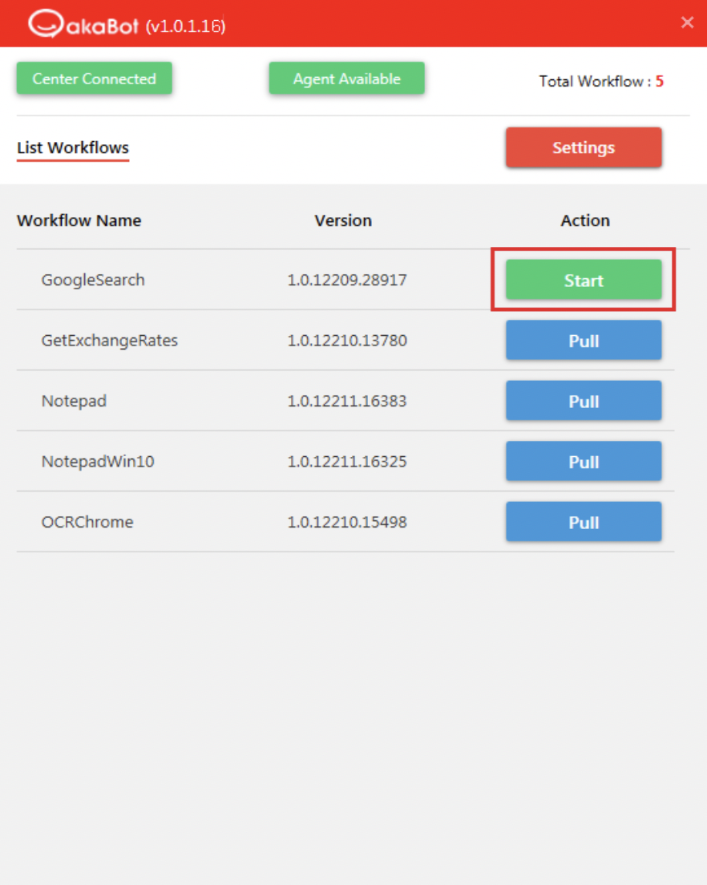
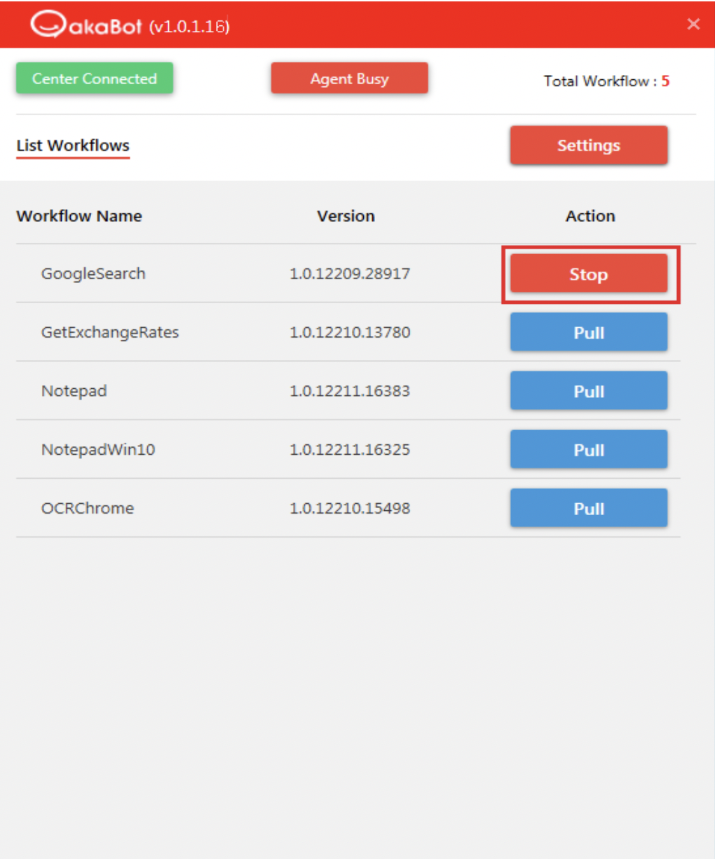
While running, the bot status turns to be Busy.
3. Stop a process
While a process is running, you can stop it manually by clicking Stop button.
After stopped, robot status turns to be Available and all related programs while running will be closed.