[6] High-Density Agents Setup
User have to config Agent Setting for each Agent in Center before running High-Density Agents. In this article, we will show you how to set up Agent as below
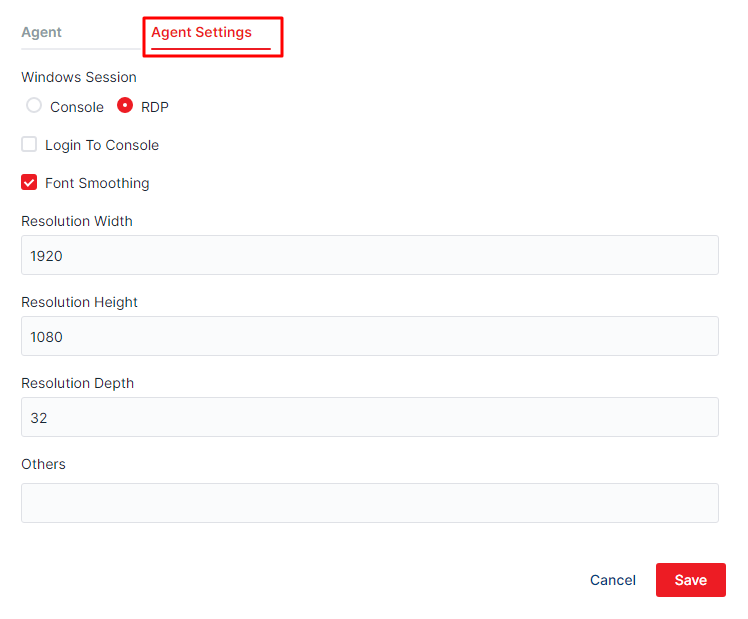
- Windows Session
- Console
- Choose the Console option if you want to run bot in Agent of physical machine which is used by human.
- In Console mode, instead of creating remote desktop session to target user, Agent will unlock the current lock screen in order to log in
- Screen resolution after login will have the same resolution as the current mornitor
- If the machine has no monitor, the activity which process image, OCR will be failed because the Windows doesn’t export graphic in this case
- RDP
- Choose RDP option, if you want to run bots in Windows Servers with High-Density Agents. In this mode, whenever running task, Agent will create a remote desktop connection with parameters about resolution, color depth, and font smoothing to users who were defined in Agent Settings
- Console
- Login to Console: Choose this option if you want bot to have permission to use mouse and keyboard.
- Note: In case there is more than 1 task running at the same time with the same request to use the mouse and keyboard, only 1 task can run successfully and the rest will be failed. Because at the same time, there is only one session have “Login to console” permission and we suggest that you should not choose this option
- Font Smoothing: Make the text clearer and we recommend choosing this option
- Resolution width/height: Set up the resolution width/height for session screen. This resolution should be the same as developer’s screen resolution to ensure environmental uniformity. The reference value should be: width 1920, height 1080
Resolution depth: Color depth. The reference value should be: 16 or 32
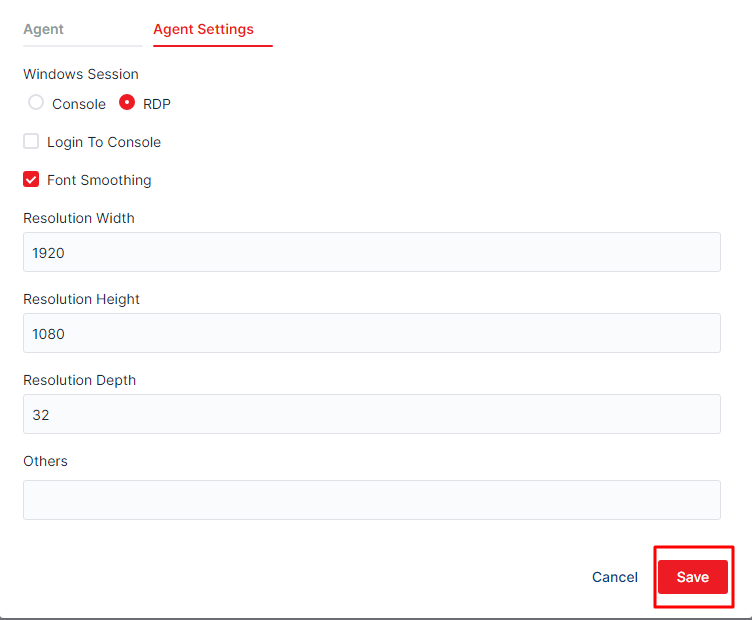
Other configuration parameters (optional)
/port:3389
Remote Desktop port. Default value is 3389. If the remote desktop port has changed in your Windows machine, it’s needed to specified that value.
/clientType:[auto, aktsc, freerdp]
Specify the client type that use to connect remote desktop session.
aktsc is the application like mstsc (based on library of Microsoft).
freerdp is the application that developed by open sources community.
/cert-ignore
Ignore remote desktop certificate warning.
+auto-reconnect
Auto reconnect if connection is lost or not stable.
/auto-reconnect-max-retries:20
Maximum retry times.
/rdp-timeout-sec:30
Remote desktop connection timeout in seconds.
/log-level:[ERROR, WARN, INFO, DEBUG]
Set log level for aktsc, freerdp, AutoLogonTool applications.
Example value:
/port:5508 /cert-ignore +auto-reconnect /auto-reconnect-max-retries:20