Package page displays all the projects published from akaBot Studio, as well as the ones that were manually uploaded. A project becomes a package when it is published to akaBot Center.
To access the Package page, you click the Package tab in the left menu. After clicking, the system opens the Package Listing page that includes all Packages we have published to the Center.
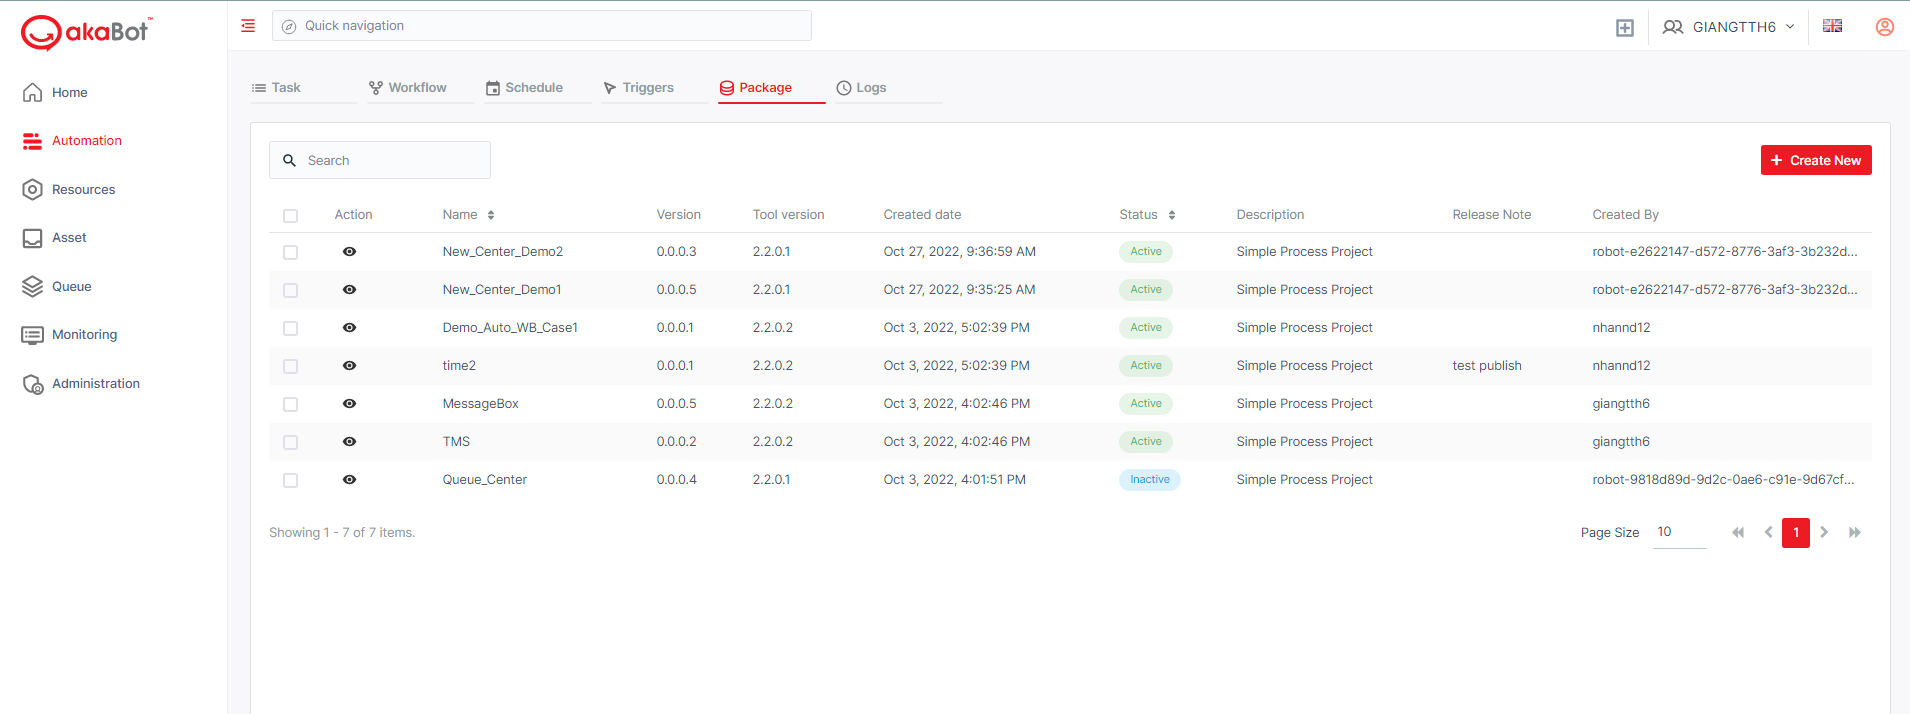
| No | Column | Description |
|---|---|---|
| Name | The name of the package that published to akaBot Center | |
| Version | The latest version of the package that published to akaBot Center. Package version will be decided when you choose the publish option in akaBot Studio. | |
| Tool version | The version of the installed Studio from which the Package published | |
| Created Date | The date when the project is published | |
| Status | The status of the newest version of the mentioned project. A package version can have the following statuses: ACTIVE - it is currently deployed to a process; INACTIVE - it is not currently deployed to a process (only these can be deleted). | |
| Description | The description that you created for your project. | |
| Release Note | The note was added in the Studio for the respective Package version. | |
| Created by | The User/Agent who created the Package on Center |
a. View a Package
To view the detail of a Package, the user can click the Eye button. On the detail page, you will see a list containing all versions of the selected package which were uploaded/published to the Center.
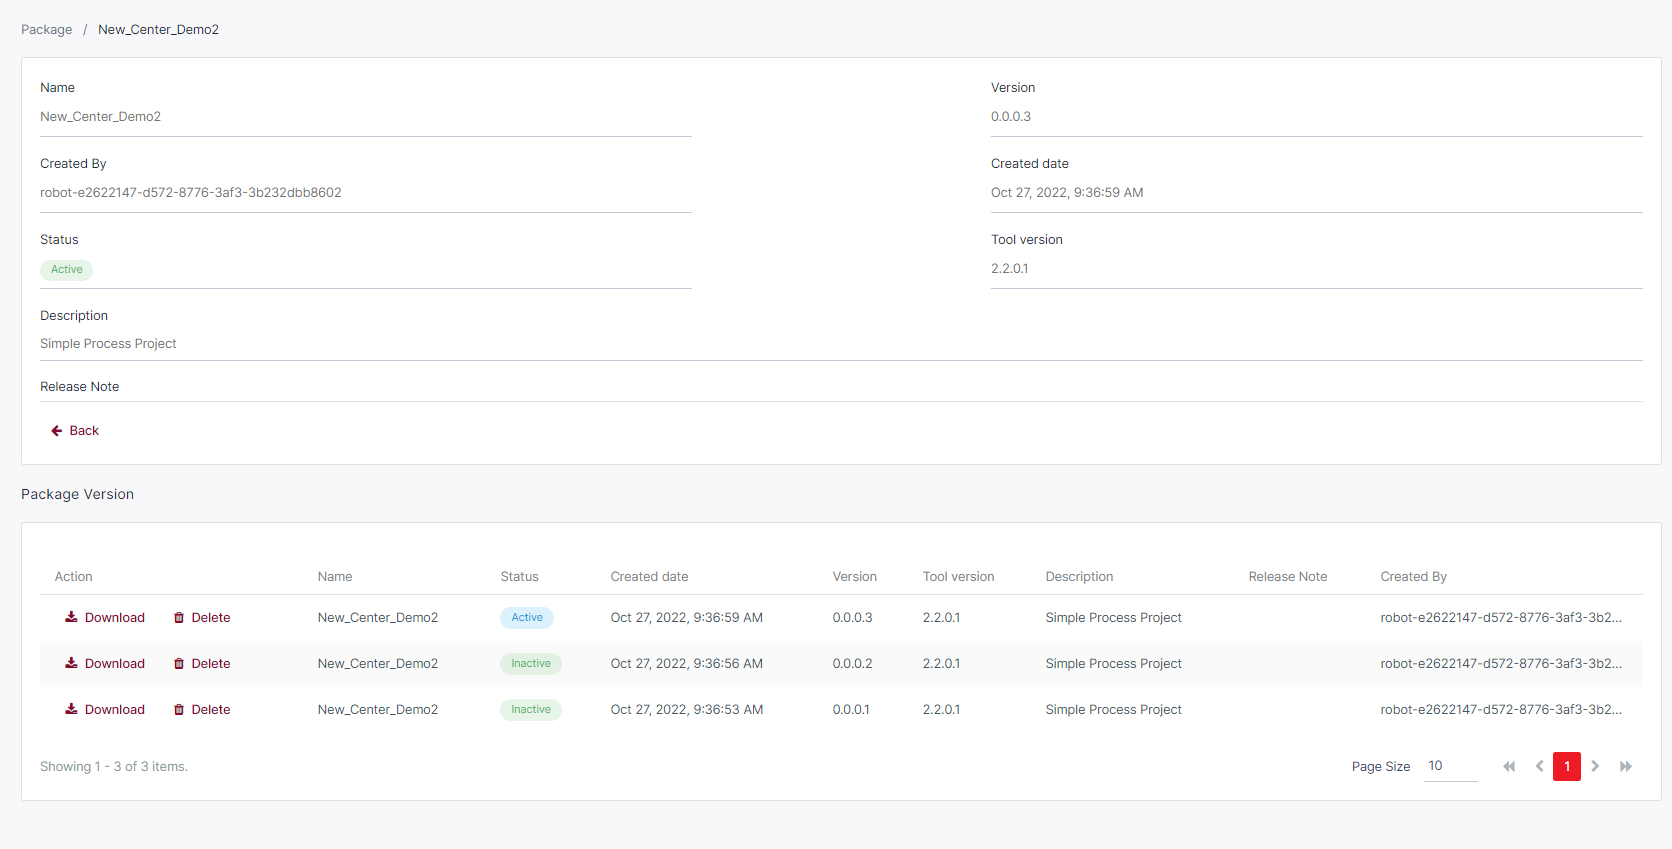
| No | Column | Description |
|---|---|---|
| Name | The name of the package that published to akaBot Center | |
| Status | The status of the package version. A package version can have the following statuses: Active - it is currently deployed to a process; Inactive - it is not currently deployed to a process (only these can be deleted). | |
| Created Date | The date when the version is published | |
| Version | The version of the package that was published to akaBot Center. | |
| Tool version | The version of the installed Studio from which the Package published | |
| Description | The description that you created for your project. | |
| Release Note | The note added in Studio for the respective Package version when it is published | |
| Created by | The User/Agent who created the Package on Center |
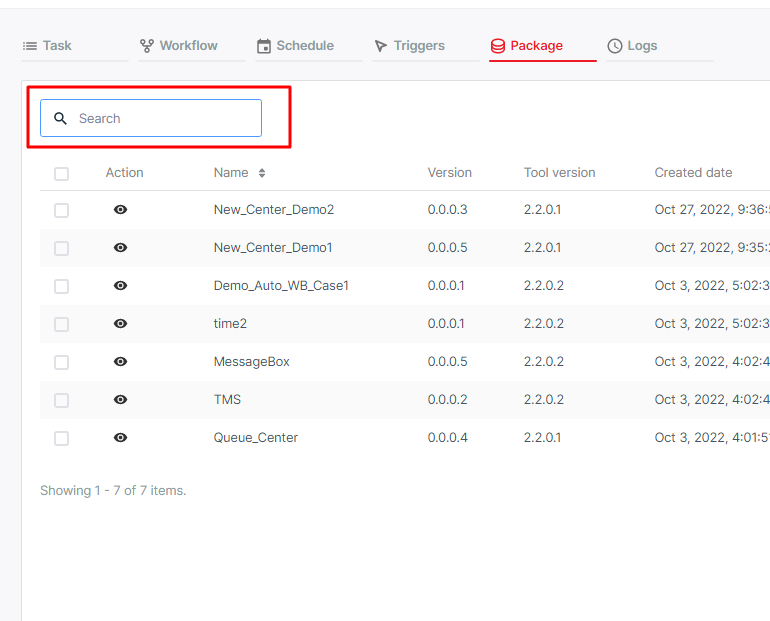
b. Search Package
This option allows you to search the package by entering the package name.
c. Upload Package
Typically, when you publish a workflow to the Center, a package will be uploaded to the Center automatically. However, you can also Manually upload a package to Center using the Create New button located at the top right of the Listing page.
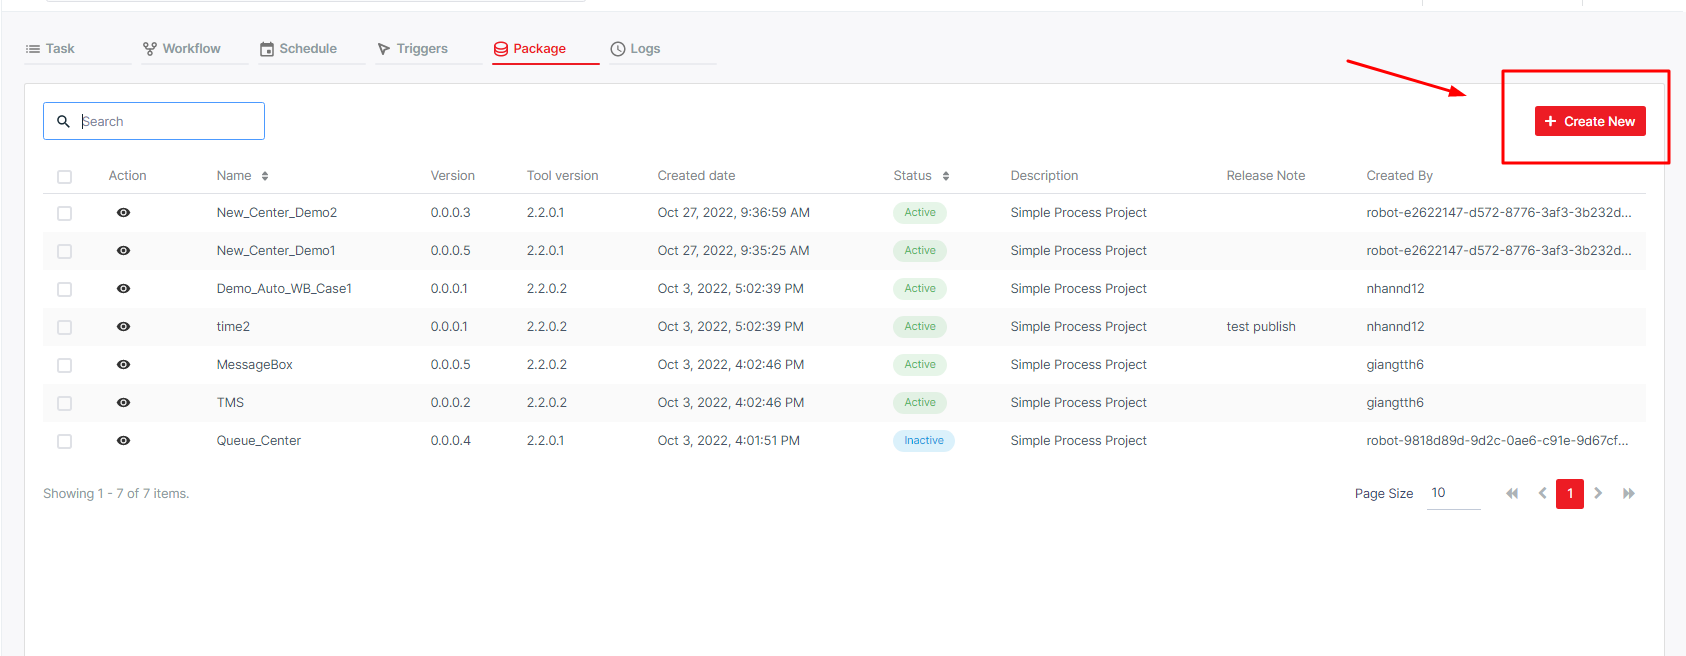
The system will display the window for you to upload the Packages.
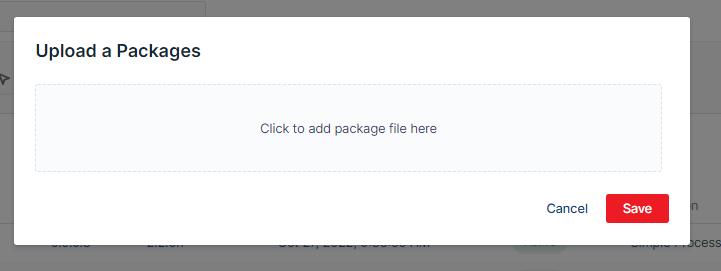
Click Choose File and select the packages (with the .nupkg extension) and hit Open.
Once you select the Package to upload from your local machine, hit Save to finish the upload, Cancel to terminate the operation.
d. Delete a Package
On the Packages Repository page, click on the Name of the package. The Package information and a list of all versions will be displayed.

Select Delete action corresponding with the version of the package you want to delete. A confirming popup will display. Hit Delete to complete the operation.
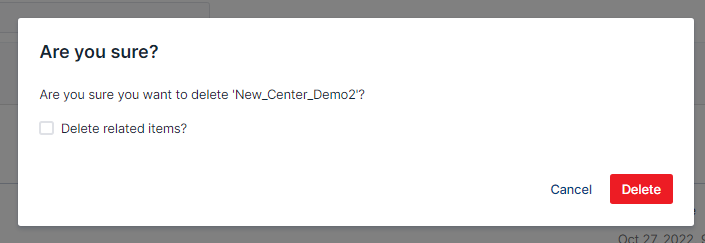
The selected package version is removed. If Delete related items? is selected, any Tasks, Log, Schedules and Workflow linked to this package shall also be removed.