If you want to take advantage of the High-Density Agents feature on a Windows Server machine, you must first make some configuration changes to it. These steps are split into the following:
- Install Remote Desktop Session Host to enable the Windows Server machine users to access virtual desktops, session-based desktops, and RemoteApp programs.
- Add the users that are going to use the machine (and are going to be used as Agents).
1. Install Remote Desktop Session Host
- Open Server Manager.
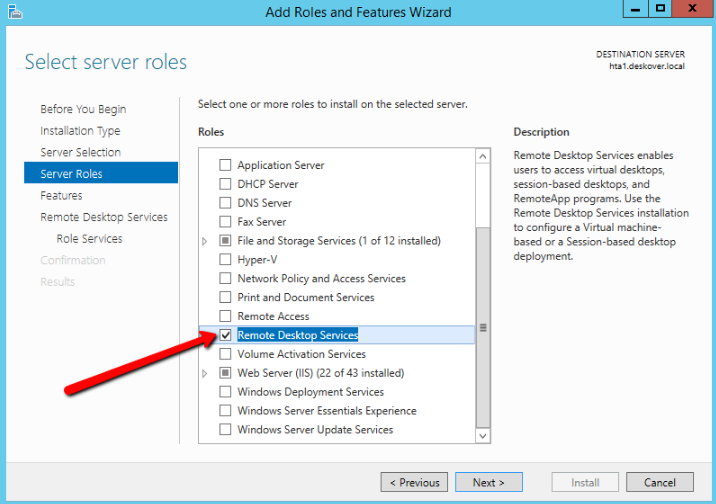
- In the Dashboard panel, click Add roles and features. The Add Roles and Features Wizard is displayed.
- Follow the wizard (click Next) until you reach the Select Server Roles step.
- In the Roles section, select the Remote Desktop Services option and click Next.
5. Follow the wizard until you reach the Select Role Services step, without changing the displayed settings.
6. In the Role Services section, select the Remote Desktop Session Host option. A dialog box is displayed prompting you regarding some required features.

7. Click Add Features. You are returned to the wizard.
8. Follow the wizard until the Confirm Installation Selections step and click Install. The feature is installed (restarting the server might be required).
2. Adding Users
You need to add the users that can connect to that machine (they do not need administrator rights). These users are the ones that are also going to be used as Agents.
- Open Computer Management.
- In the left panel, navigate to Computer Management (Local) > Local Users and Groups > Groups. The right panels are updated accordingly.
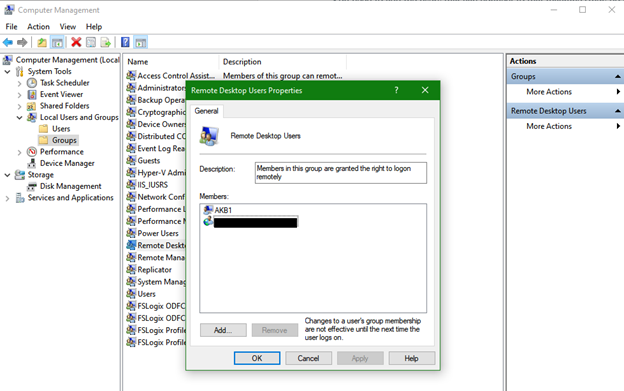
- Double-click Remote Desktop Users. The Remote Desktop Users Properties window is displayed.
- Click Add. The Select Users, Computers, Service Accounts, or Groups window is displayed.
- In the Enter the object name to select field, add users from your domain, under which the Agents will be able to access the machine.
- Click OK. The configuration is saved and the Select Users, Computers, Service Accounts, or Groups window closes.
- In the Remote Desktop Users Properties window, click Apply and OK. Your settings are saved and the users you just added will now be able to login to the Windows Server machine.