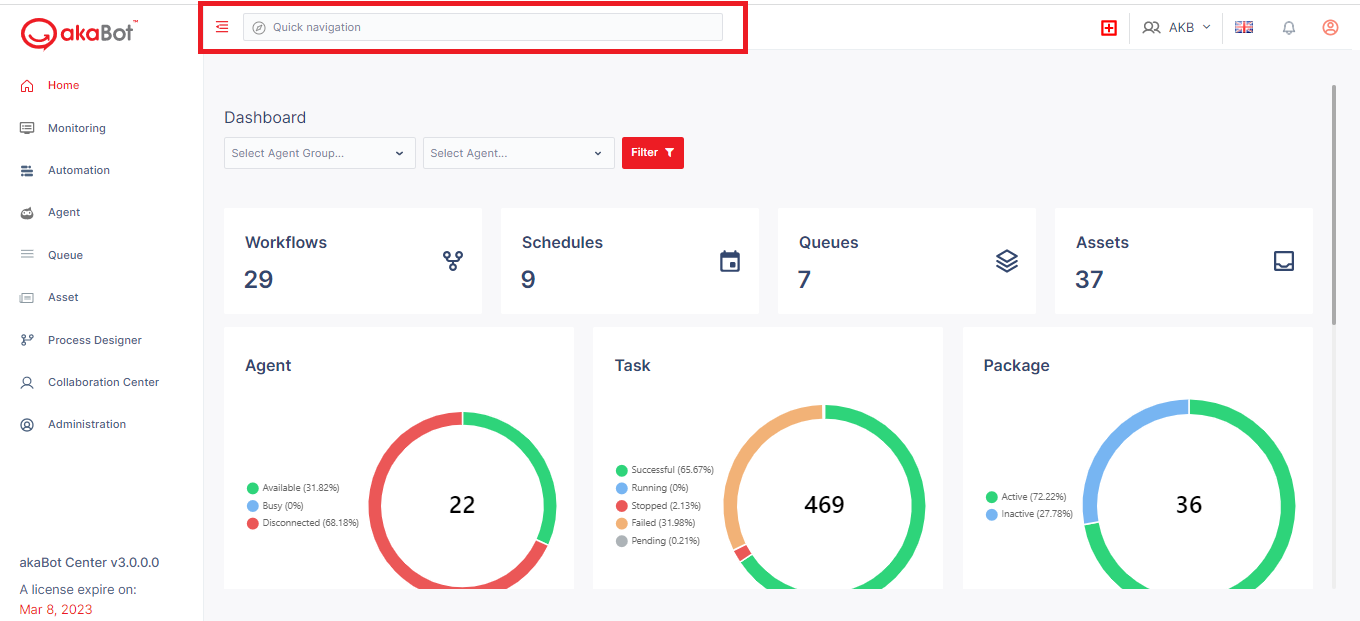
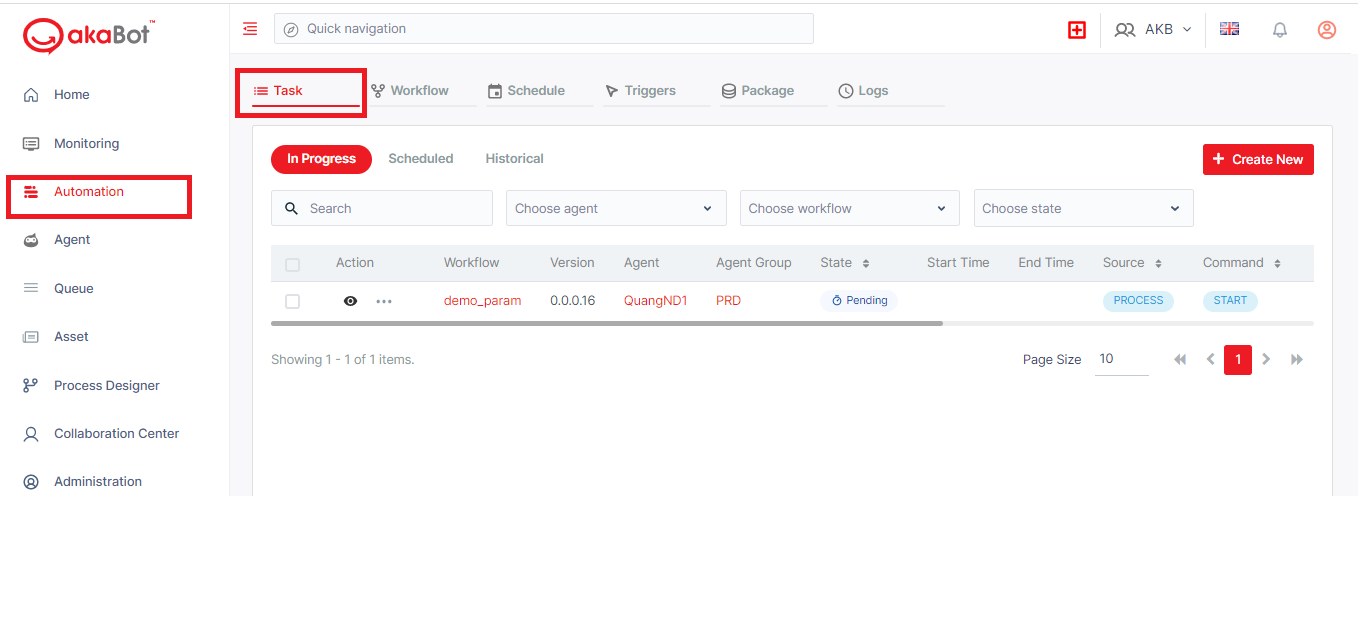
Use case 1: Quick navigation
In the top of center, enter the workflow, agent group, agent … what you are looking for in Quick Navigation tab to quickly search results.
Use case 2: Start running bot
1. Modify Asset
(If you don’t need modify assets, please click here to find the way to run Bot)
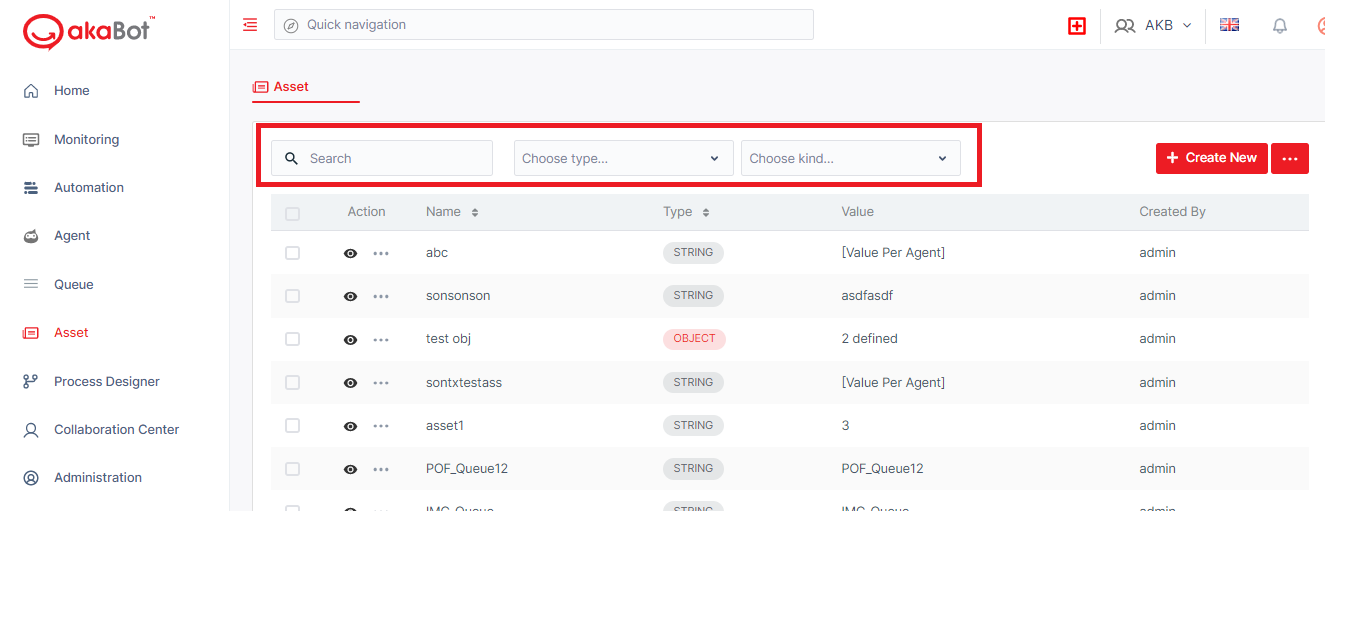
S1: To access Asset page, click Asset in the left menu
S2: Find name of asset you want to edit, or quickly search by the Search tab on the top of the page
S3:
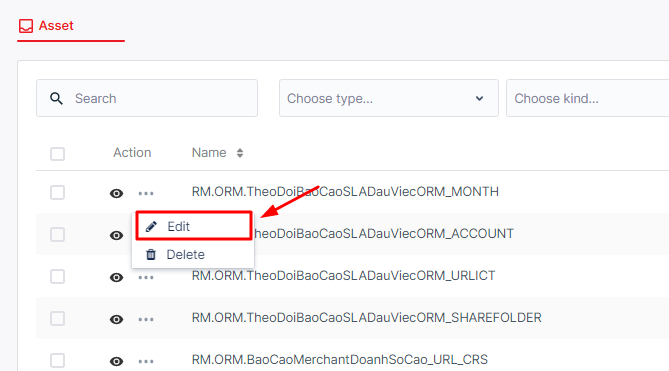
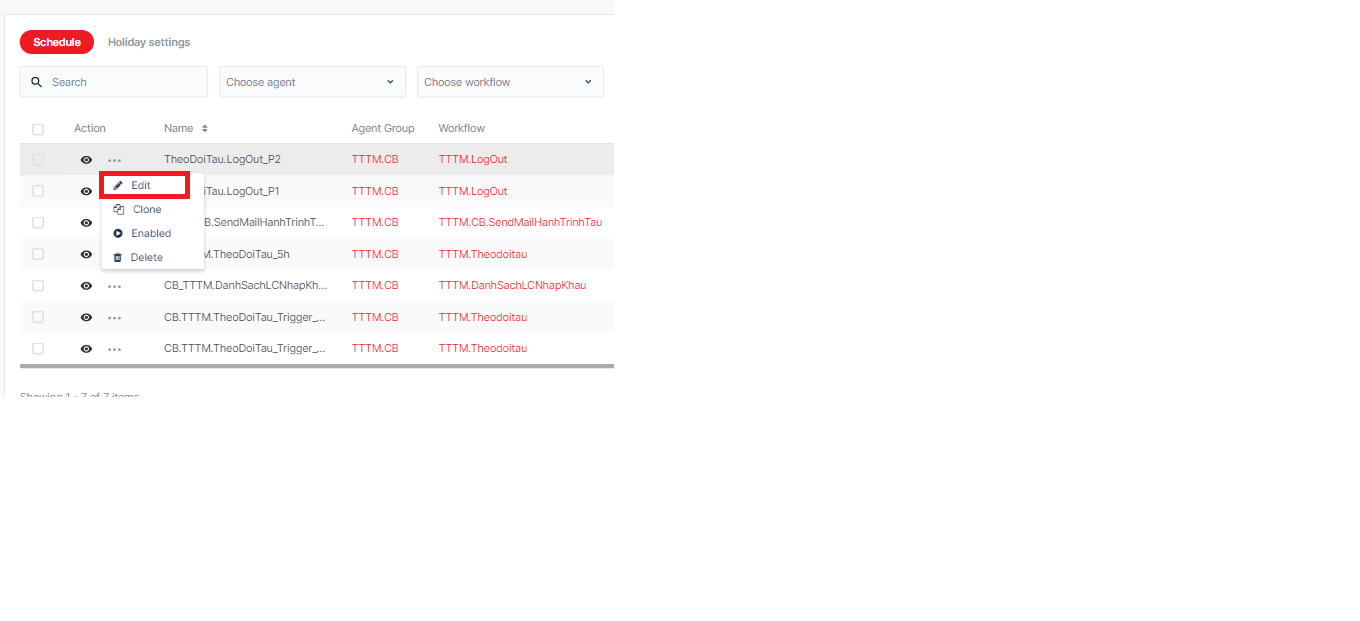
Option 1:
Choose Edit button in the Action column
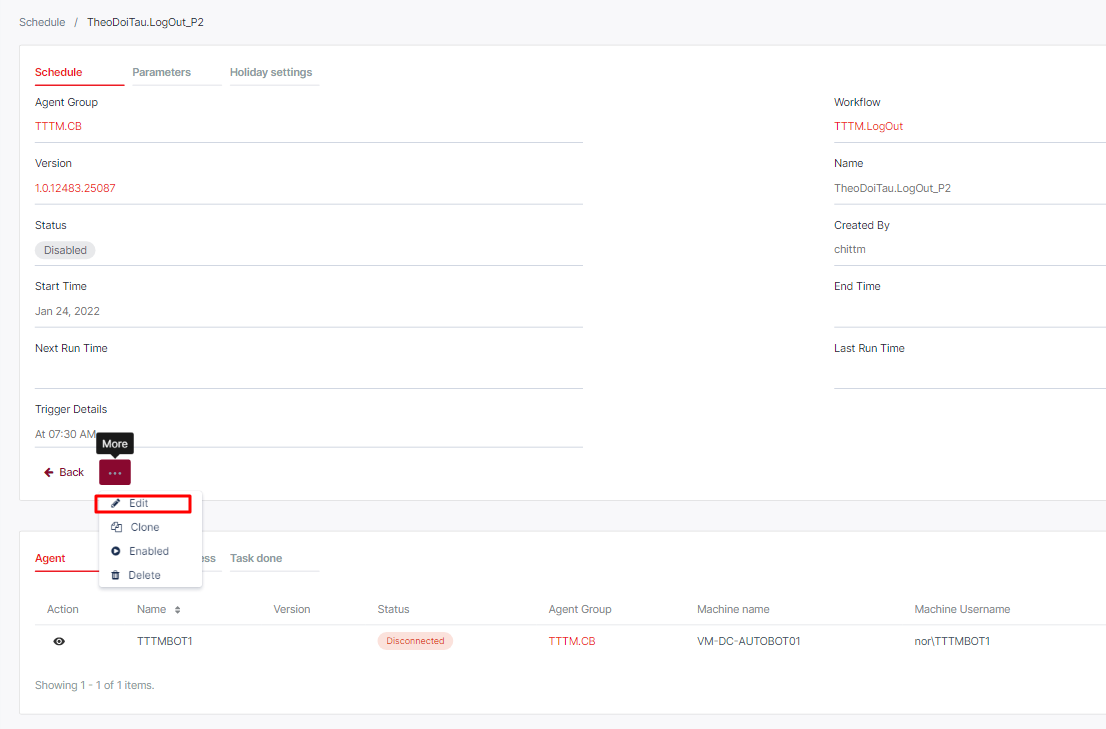
Option 2:
Alternatively, when you click the “eye” icon, details page of asset will appear > select Edit button
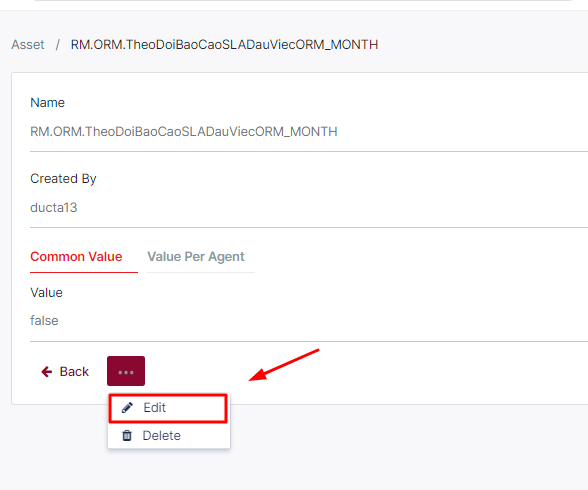
S4: You can edit the asset in Value(*) and Save
2. Running Bot
2.1. Run manually
S1: In Automation menu > the Task tab will show up automatically
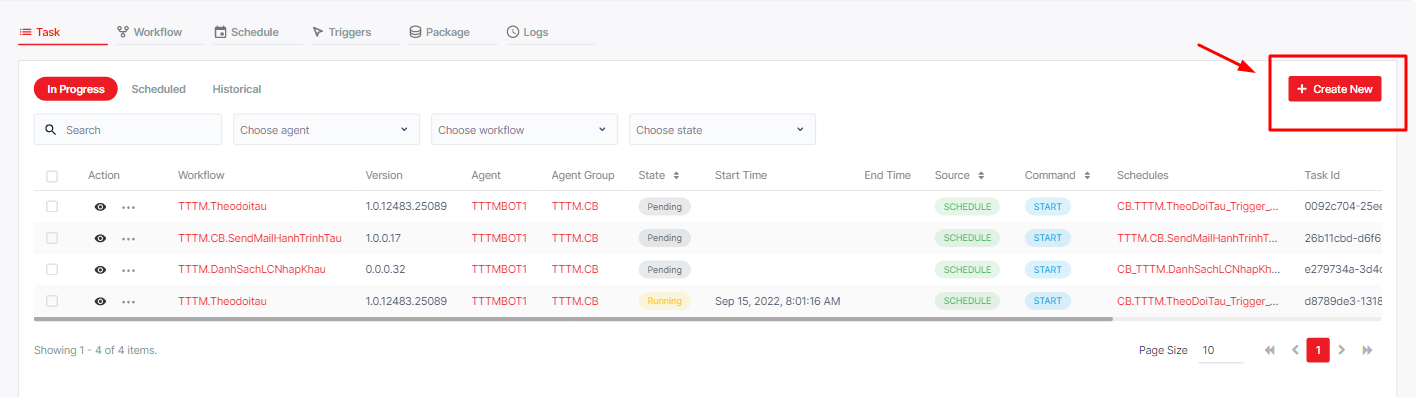
Option 1:
S2: Click Create New button on the top right of page to create a new task.
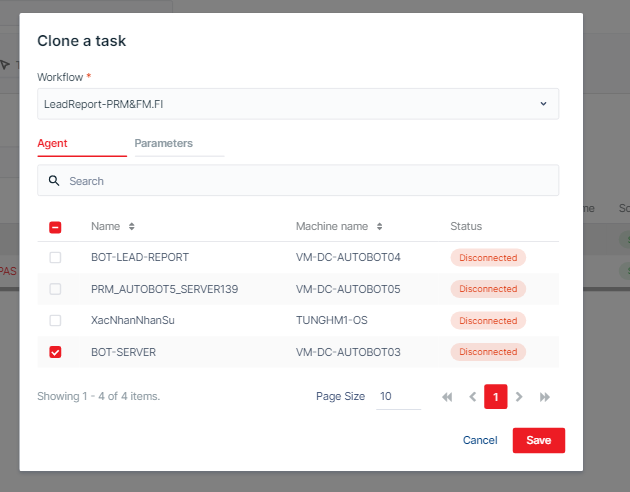
S3: A form will pop-up for you to fill in
Click Save |  |
Option 2:
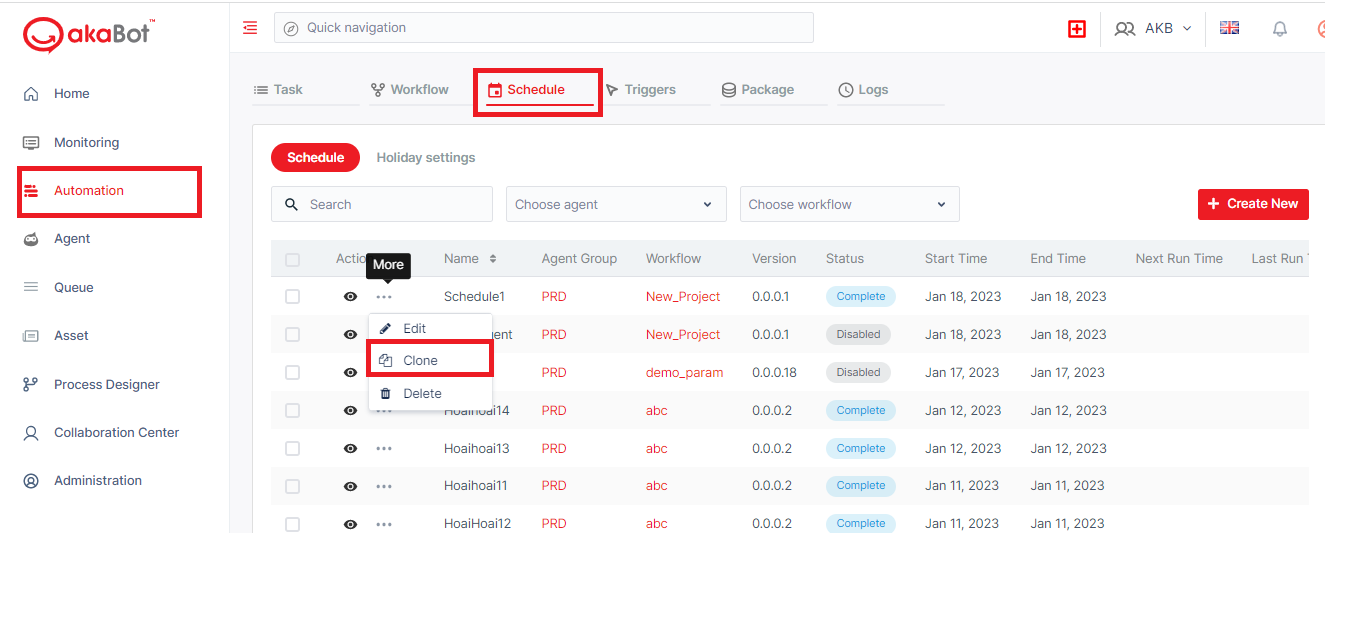
B2: Alternatively, you can click “triple dot” icon in Action column next to the task > Then a dropdown list is shown up > choose Clone
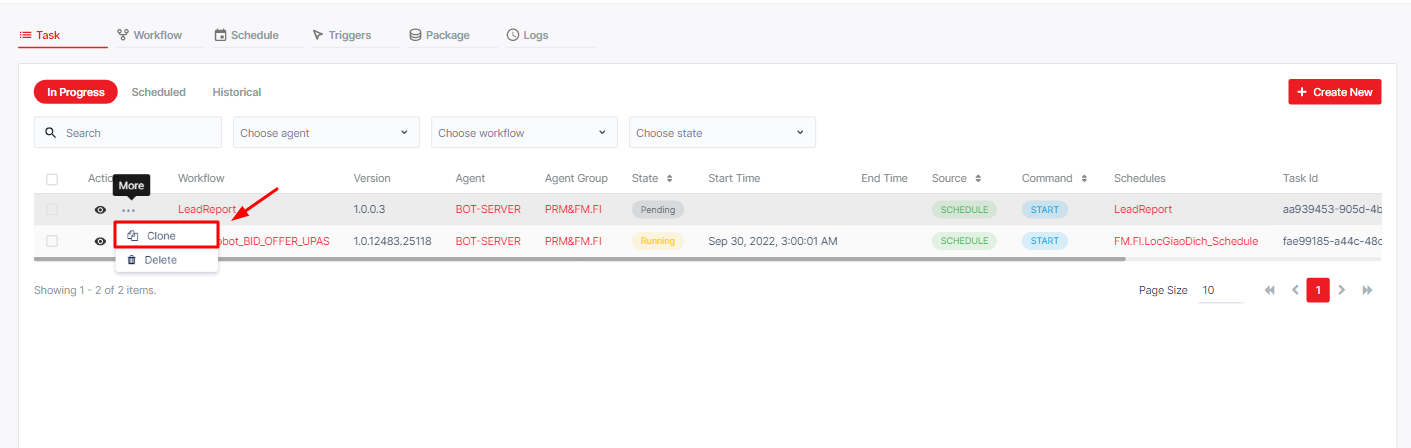
B3: A form will show up, feel free to modify it if needed > Click Save
2.2. Run schedule
If you have not set up schedule for bot, you need to create it before run schedule, look up here to know how to create.
In case you already have schedule, you can click in Schedule tab > choose the task you want to run > then click Clone button in the dropdown list
Use case 3: Set up schedule
1. View schedule
Option 1:
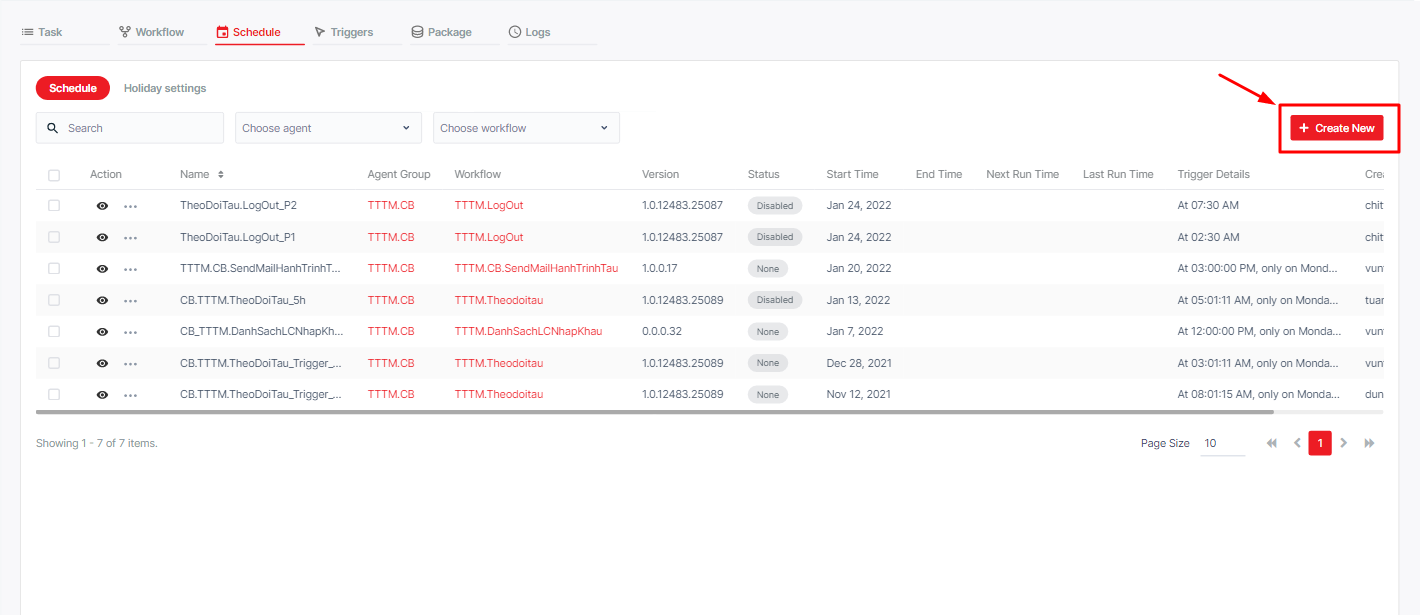
S1: In Automation menu, you click the Schedule tab to show all the schedule
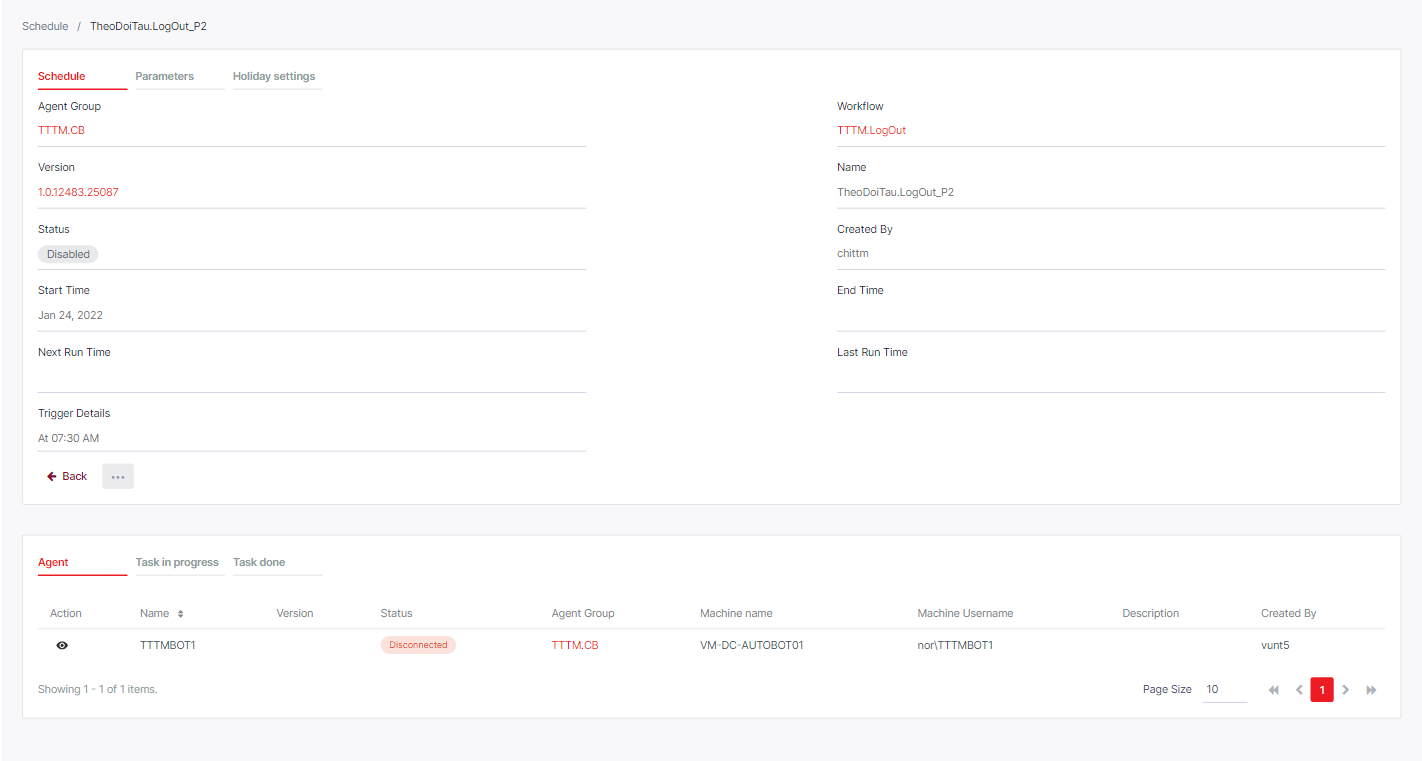
S2: Choose workflow that needs to be viewed then click in “eye” icon
Option 2:
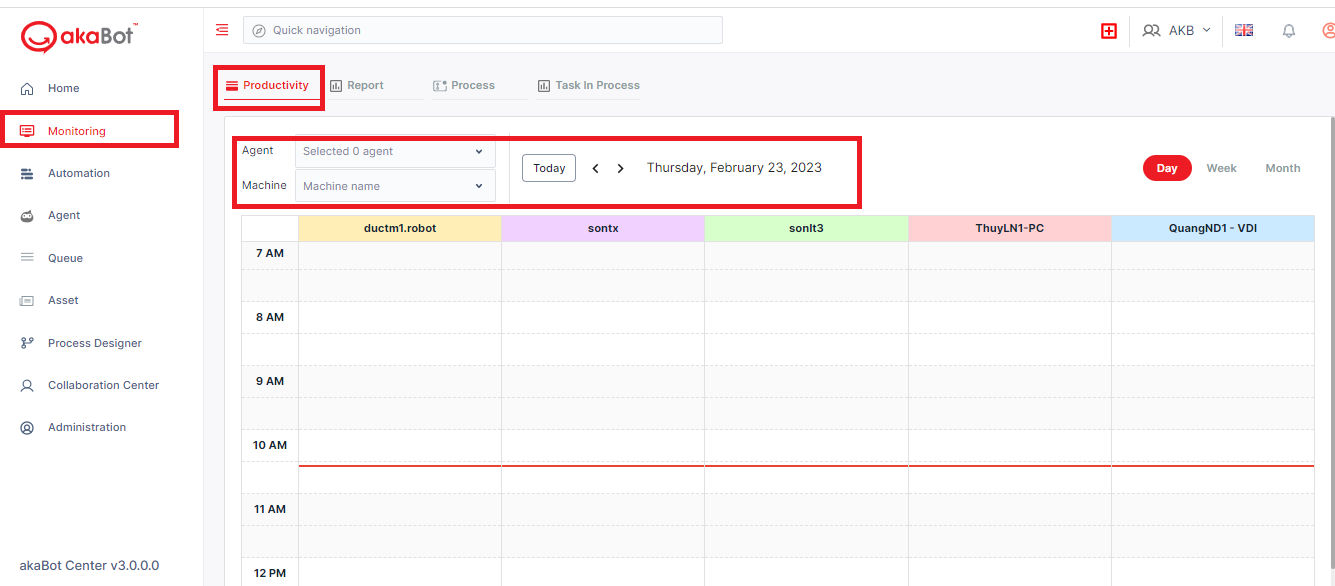
S1: In Monitoring menu, click Productivity tab. You can see all schedule of each agent in a calendar. Or choose agent/ machine in dropdown lists to see schedule of a particular agent/ machine
2. Create/ edit a schedule
S1: To create a schedule, you click Create New button. The system will display the form for you to create a schedule.
Option 1:
S2: When you want to edit the Schedule information, click the Edit button in the Action column.
Option 2:
S2: Alternatively, you can access the Details page of said schedule and select the Edit button.
S3: Now, you need to fill in the pop-up form
Trigger tab:
Execution Target tab: depends on the workflow you chose, tick the suitable agent Parameters tab: Holiday settings tab: single choice
Note: (*) is required | 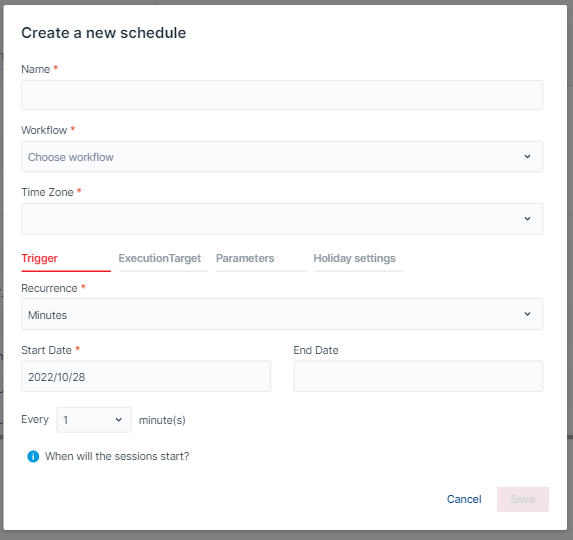 |
If you choose Once
| Column label | Description |
| Start Date | Select the date at which the schedule will start |
| At | Select the specified time at which the schedule will start |
If you choose Minutes
| Column label | Description |
| Start Date | Select the date at which the schedule will start |
| End Date | Select the date at which the schedule will end |
| Every | Select the exact cycle for the schedule by minutes |
If you choose Hourly
| Column label | Description |
| Start Date | Select the date at which the schedule will start |
| End Date | Select the date at which the schedule will end |
| Every … Hours | Select the exact cycle for the schedule by hours |
If you choose Daily
| Column label | Description |
| Start Date | Select the date at which the schedule will start |
| End Date | Select the date at which the schedule will end |
| At | Select the specified time at which the schedule will start |
If you choose Weekly
| Column label | Description |
| Start Date | Select the date at which the schedule will start |
| End Date | Select the date at which the schedule will End |
| Everyday At | Select the specified time at which the schedule will start |
| Monday Tuesday Wednesday Thursday Friday Saturday Sunday | Select the exact cycle for the schedule by hours, minutes and days. |
If you choose Monthly
| Column label | Description |
| Start Date | Select the date at which the schedule will start |
| End Date | Select the date at which the schedule will end |
| At | Select the specified time at which the schedule will start |
| On | Select exact day in a month |
| Of | Choose exact month in a year |
If you chose Advance
| Column label | Description |
| Cron Expression | A string comprised of 6 or 7 fields separated by white space allows users to create a CronTrigger to trigger a schedule that recurs based on calendar. |
3. Disable schedule
S1: To disable a schedule, click corresponding Action button and then select Disable.
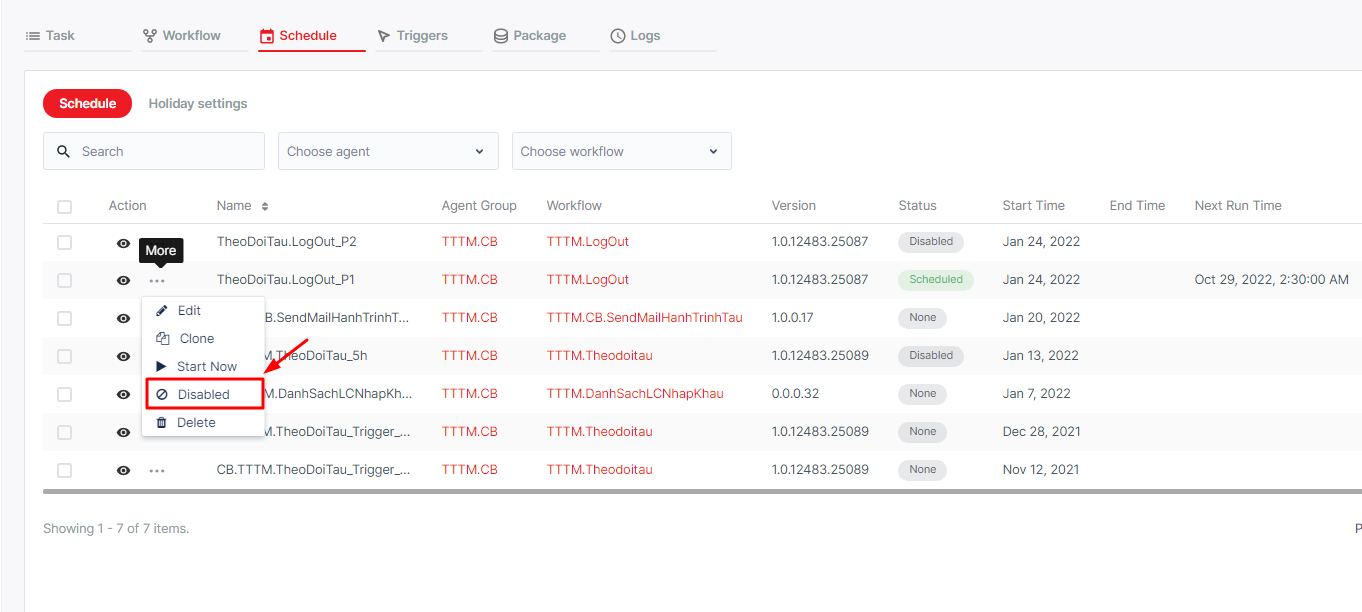
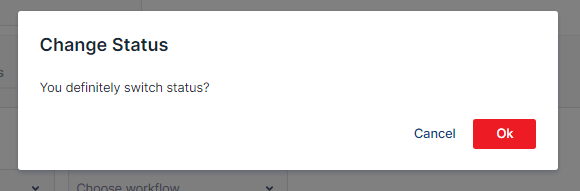
S2: After clicking, the system will ask for your confirmation to switch status , then click OK
S3: When the schedule is disabled, the status of said schedule changes to Disable.
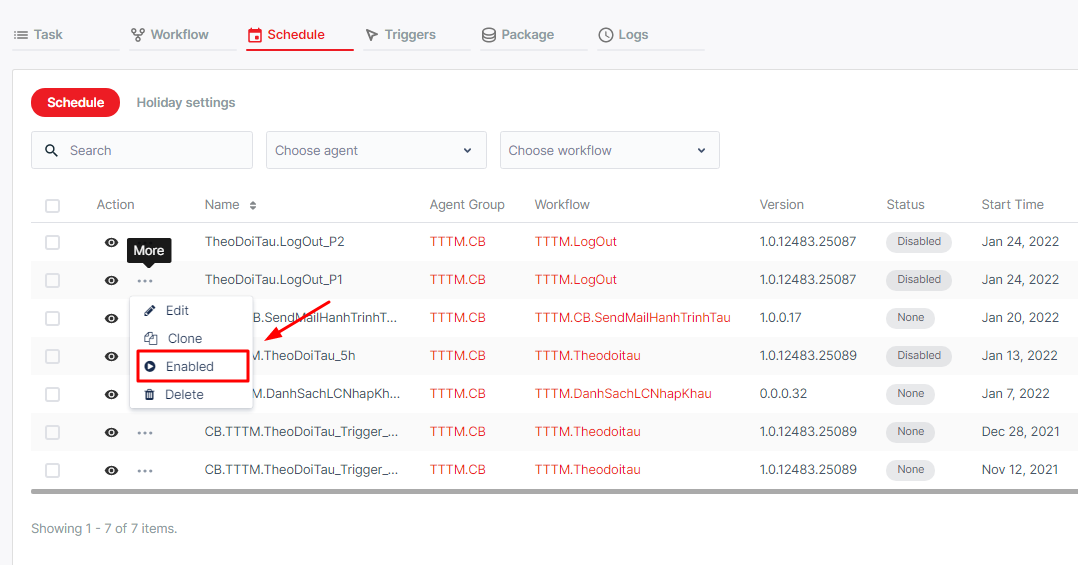
4. Enable schedule
S1: To disable a schedule, click corresponding Action and then select Enable.
Use case 4: Set up holiday settings
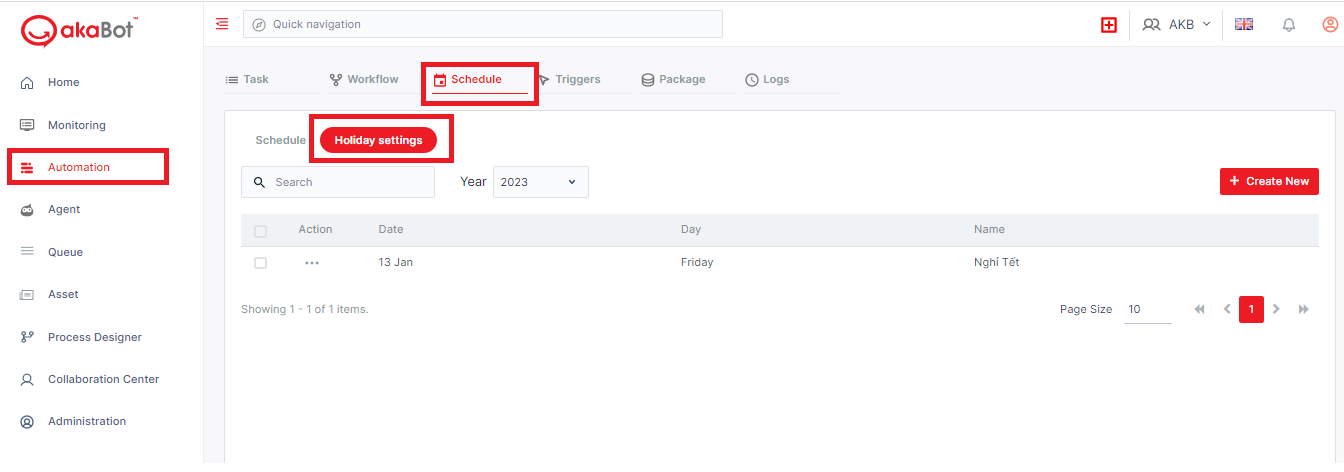
S1: To create a new holiday, choose Automation menu > click tab Schedule > then click subtab Holiday settings
S2: Click Create New button on the top right corner of the page > then a form will pop-up
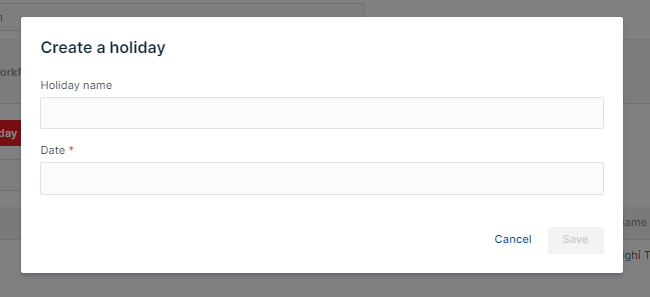
Holiday name: Enter the name of holiday
Date: choose the date you want
Click Save
S3: Assign the holiday setting to the agent you want (find in here)
Use case 5: Check the result of running bot
1. View the result and running time bot
S1: From the Task tab: choose Historical subtab
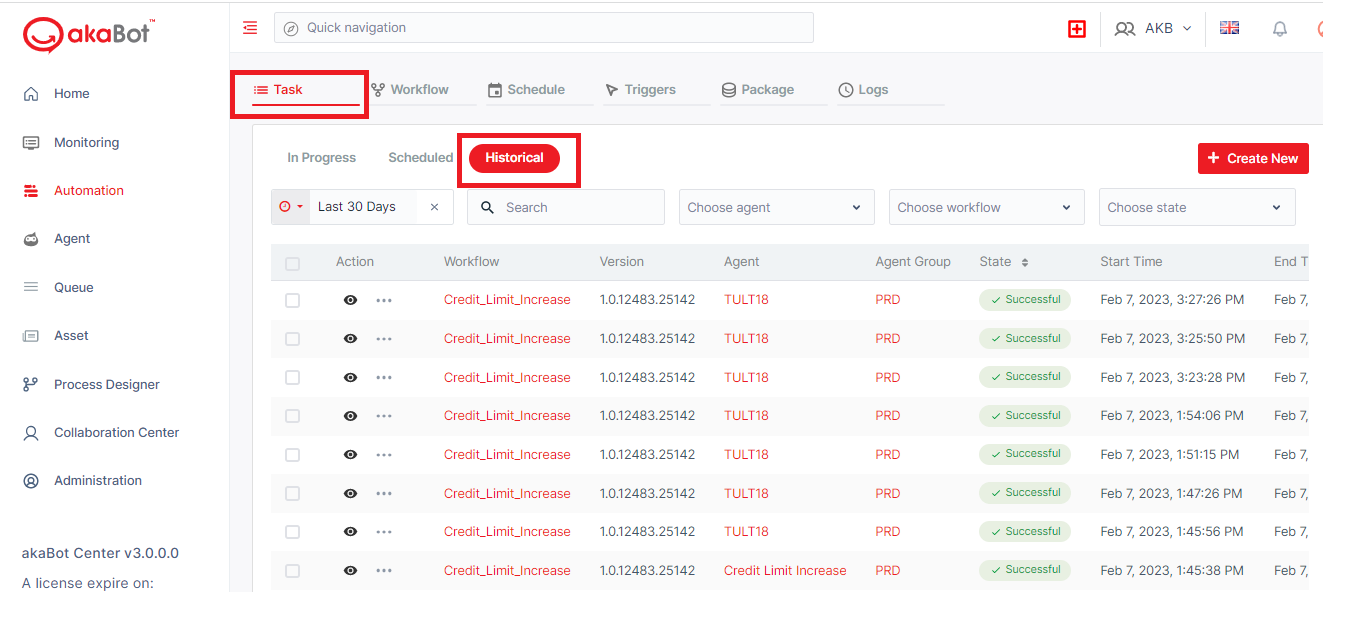
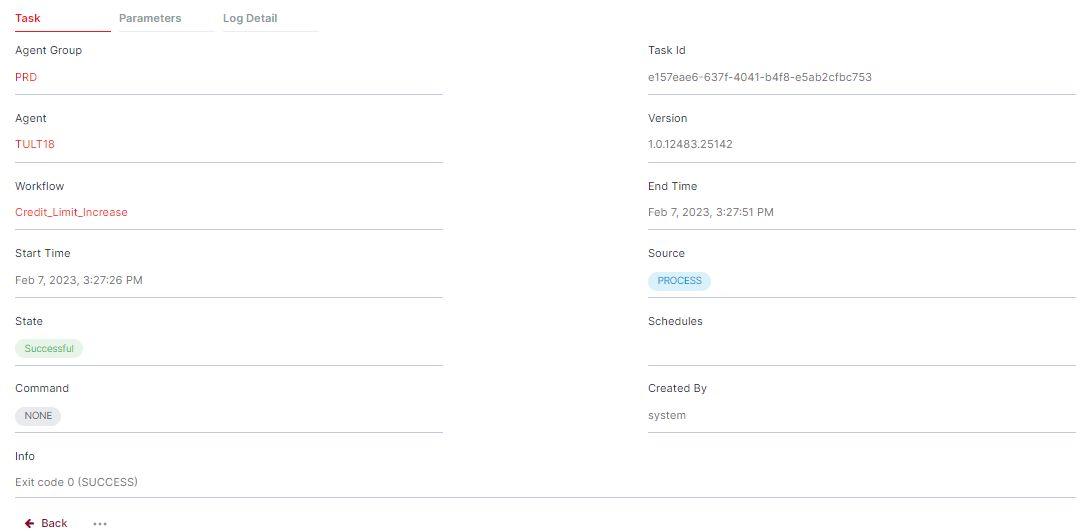
S2: Once clicking “eye” icon, you will be redirected to the Detail page. Details can be viewed below:

S3: If you want to check running time, check start time - end time.
By seeing “state”, you can check status of bot.
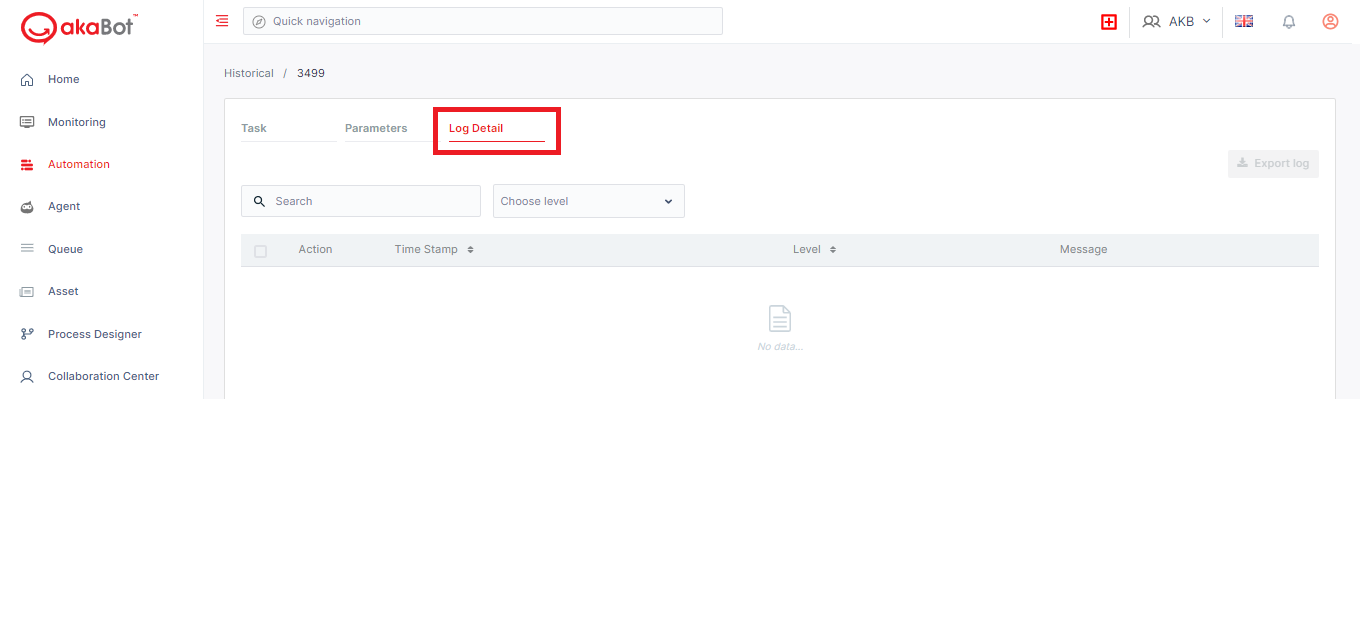
2. Check logbug
S1: From the Task tab: choose Historical subtab

S2: Once clicking “eye” icon, you will be redirected to the Detail page. Details can be viewed below:
S3: To see the logbug > click Log Detail
 Use case 6: Monitor status of bot
S1: In the left menu, click Agent tab
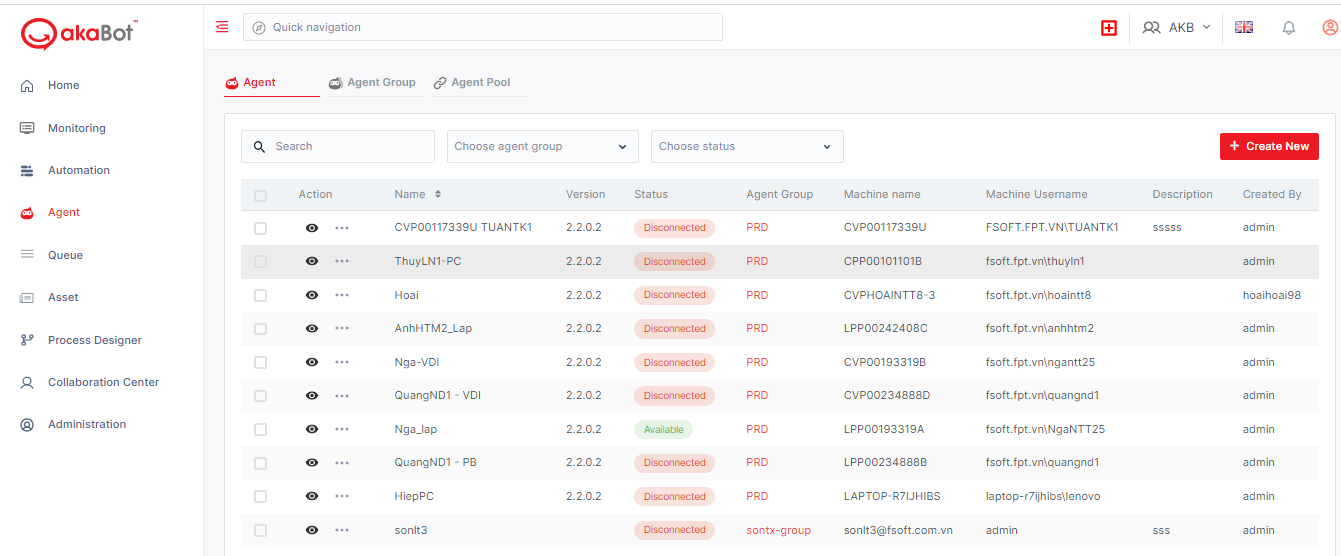
S2: You can check status of any bot in the column named Status.
| Column label | Description |
| Status | The current status of the Agent. AVAILABLE - the Agent is connected to the Center, not running any process and is free to be used BUSY - the Agent is running a process. DISCONNECTED- the Agent and Center have not communicated in the last 10 seconds. |