akaBot Automation Hub Installation
- akaBot Automation Hub requires some additional programs such as:
- JAVA JDK 11
- MySQL Community Server
1. Java JDK 11
Step 1 - Kindly download Java JDK 11 at JAVA JDK 11
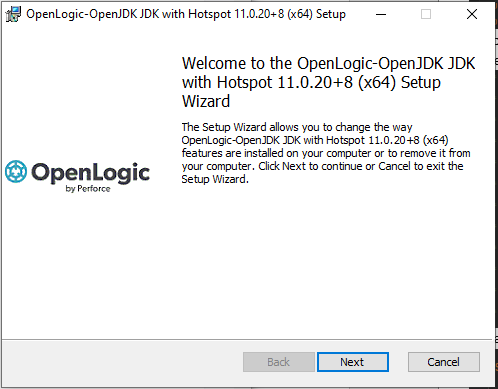
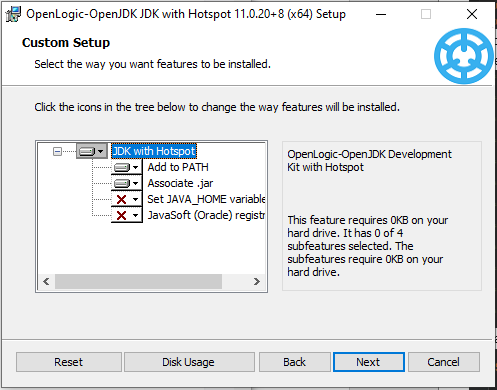
Step 2- Run the installer you have downloaded. After that, click "Next" to proceed.
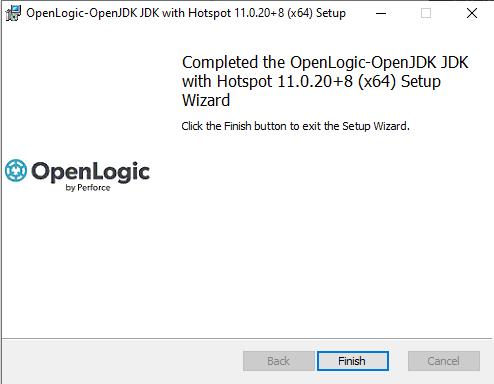
- After Installation is complete, you will see the Complete Notification below. Simply click “Finish”. You have successfully installed JDK.
2. MySQL 8.0
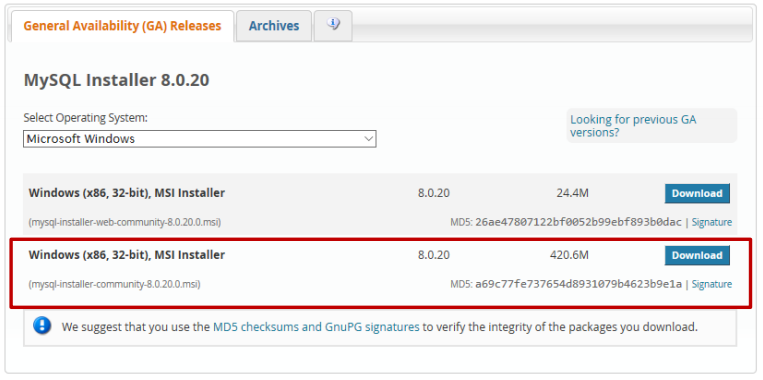
Step 1 - Kindly download MySQL 8.0
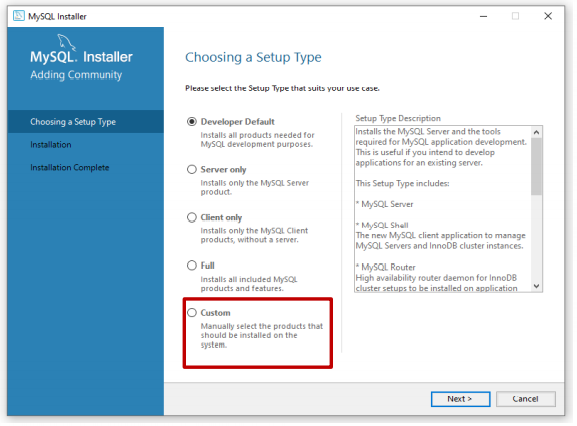
Step 2 - Run the installer and choose Custom option.
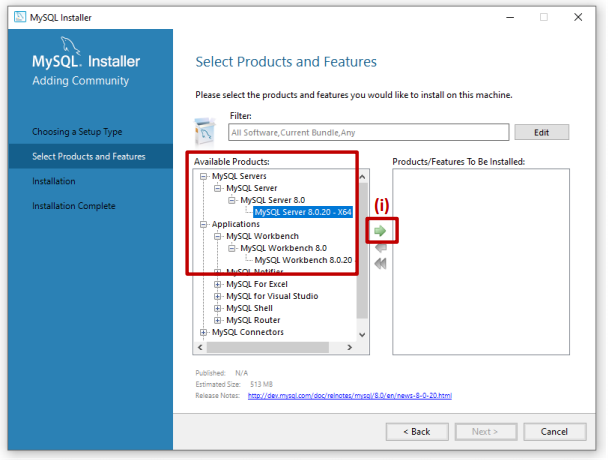
- To run akaBot Center, you will need MySQL Server and MySQL Workbench.
- Under:
+ MySQL Servers > MySQL Server, choose the newest for MySQL Server.
+ Application > MySQL Workbench, choose the newest version for MySQL Workbench.
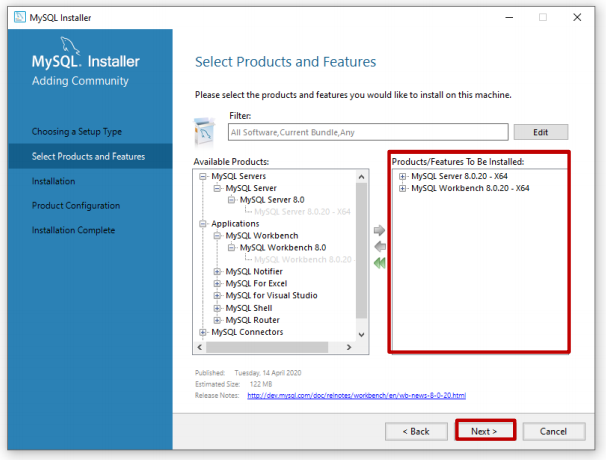
- After that, kindly click Execute and hit Next,...
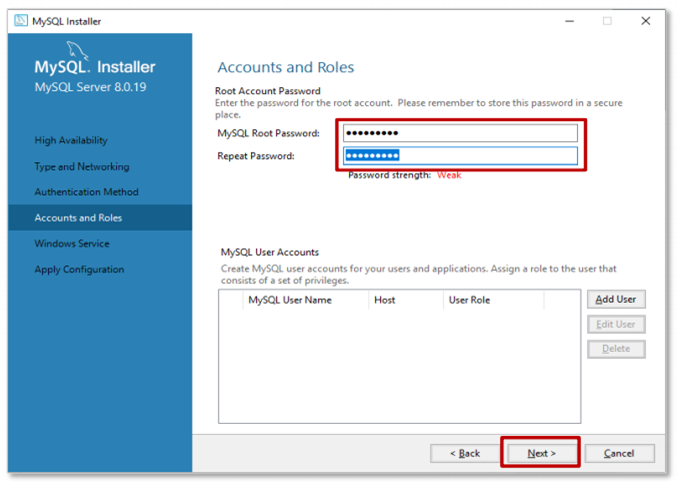
- When you at the Accounts and Roles page, it is recommended you set it to the default password ”sis@12345” to avoid having to update the Config file later. Click “Next"
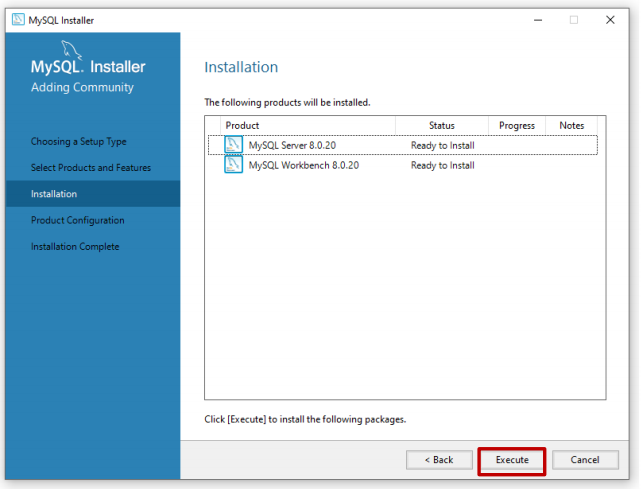
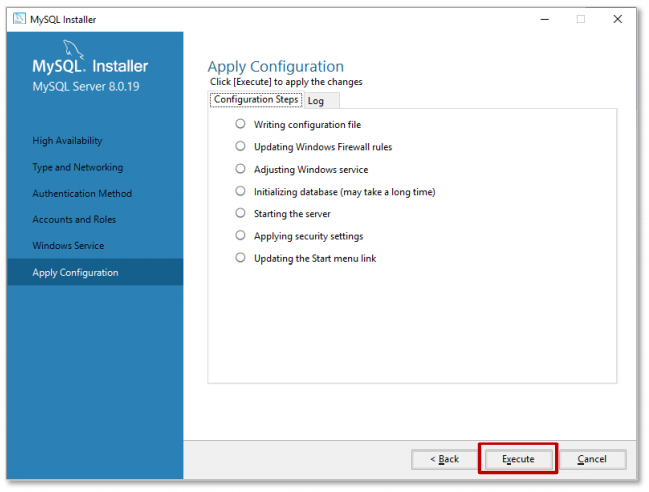
- Click "Execute" and wait till everything is finished. Click “Finish”.
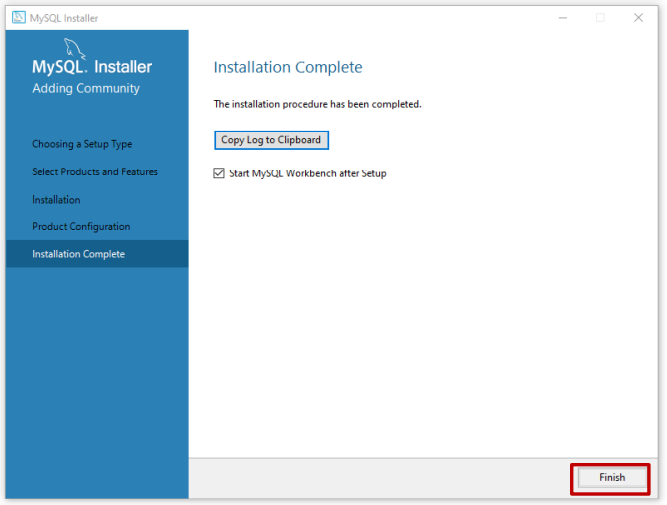
- If you see this prompt, we have successfully finished the installation. Click “Finish”.
3. akaBot Automation Hub Configuration
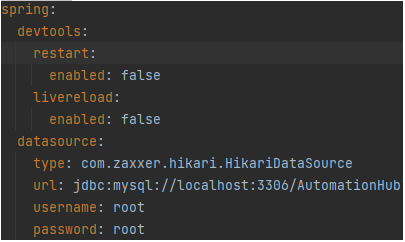
Step 1 - Open the application.yml file
Step 2 - Update the database connection by updating the datasource section (database server, username, password…)
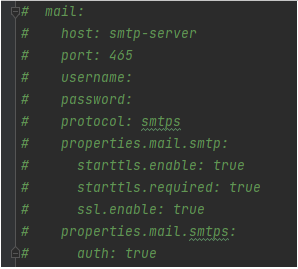
Step 3 - Uncomment the mail section and fill in your smtp mail server
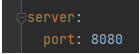
Step 4 - Update the server port, the default is 8080
Step 5 - Update the root download URL for downloading components (e.g.: your host is example.com and the port is 8080 -> http://example.com:8080/api/storage/download)

Step 6 - Save the edited file.
4. Install AutomationHub service
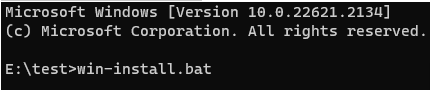
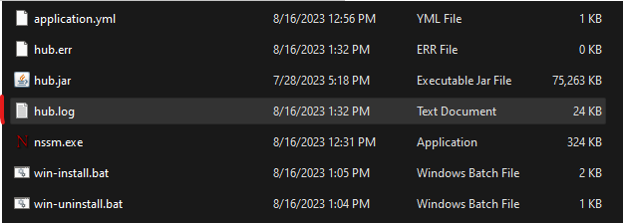
Step 1: Open the command line as administrator and cd to the extracted directory from the downloaded Automation Hub package.
Step 2: Run install script win-install.bat
Step 3: The script will start installing and configuring Automation Hub service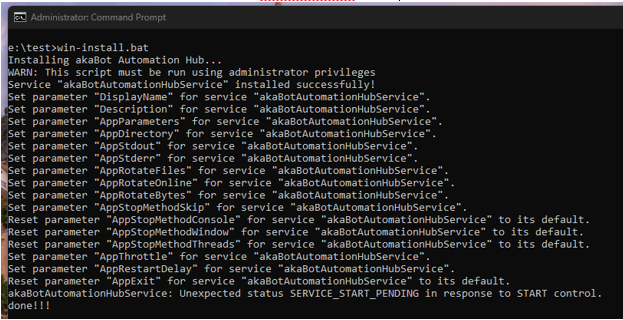
Step 4: Open Windows Services and you can see our new AutomationHub service here, the status will be Running by default.

Step 5: Now you can start/stop the service from Window Services.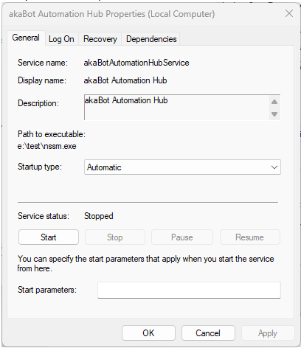
Step 6: If something went wrong, you can see the log in hub.log
Step 7: Wait a minute (it may take 1-2 minutes) and then open http://localhost:8080 to start using the Automation Hub.