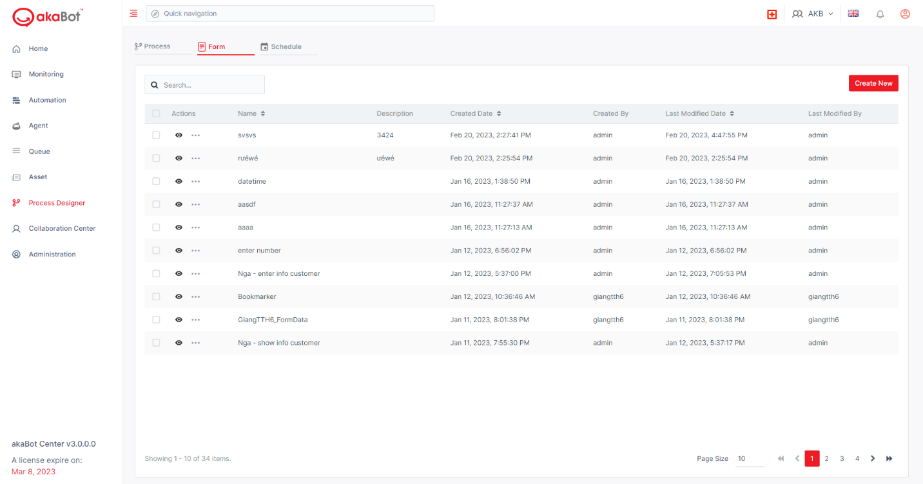
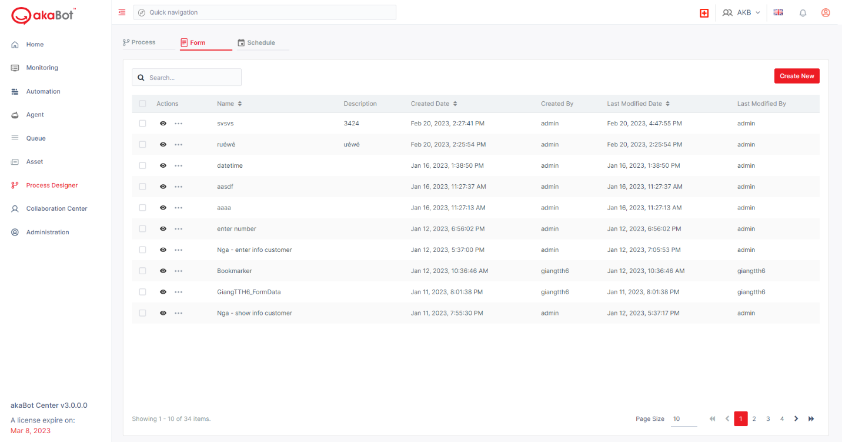
1. Create a new form in Process Designer menu
To create a new form in Process Designer menu, users choose Form tab, then click Create New button.
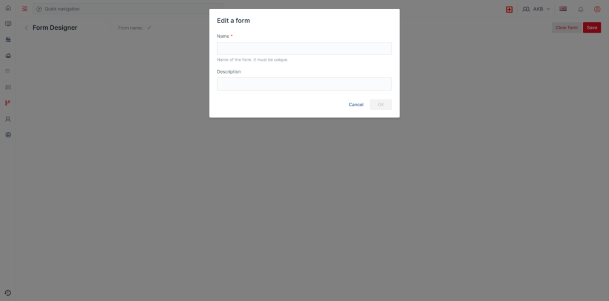
A window will show up, user enter the name of form in Name (is required) and enter a brief description in Description (optional), then click OK.
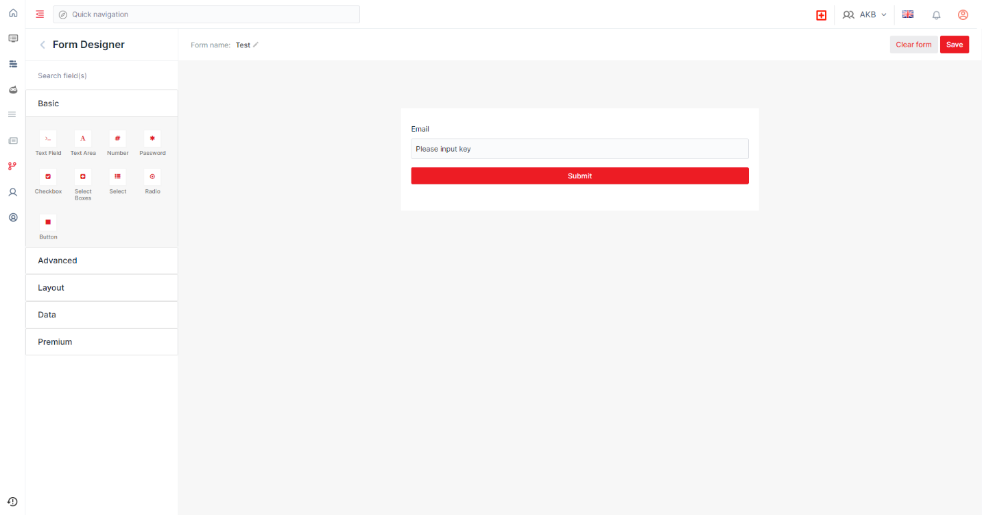
2. Components of the Form in Form Designer
Components which create a form in Form Designer provide users the ability to collect user data
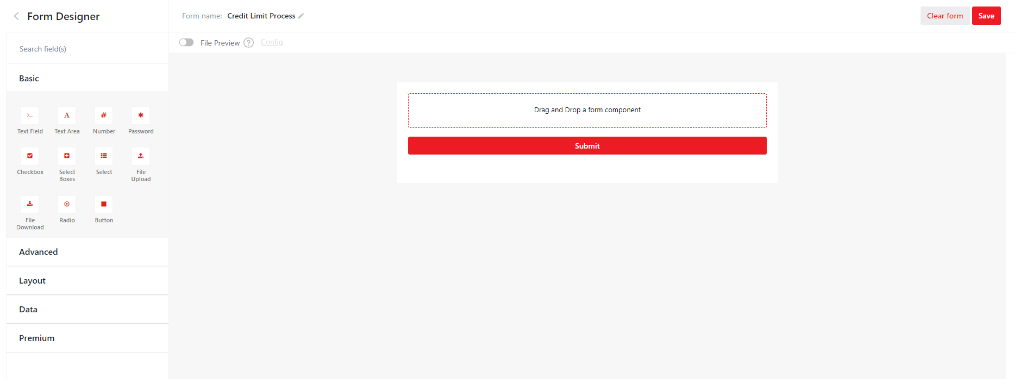
UI components are divided into 5 main groups, based on their functions:
| Groups | Description | Components |
| Basic | Include frequently used components |
|
| Advanced | Include personal information or date/time components |
|
| Layout | Include elements changing form’s layout |
|
| Data | Include components used to collect data |
|
| Premium | Include components used for business level |
|
| Others | File Preview |
To create an adjustable form, user drag components in the left of the page and drop them in the form designer in the the right in the order you want.
3 Configure each component in Form Designer
After choosing the needed components, a window with lots of configs will show up for you to fill in.
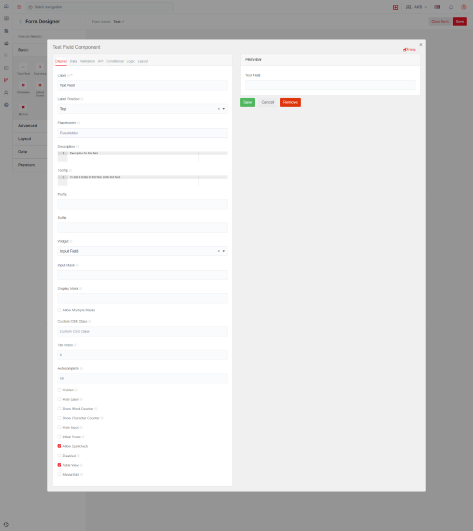
Then click Save when you are done.
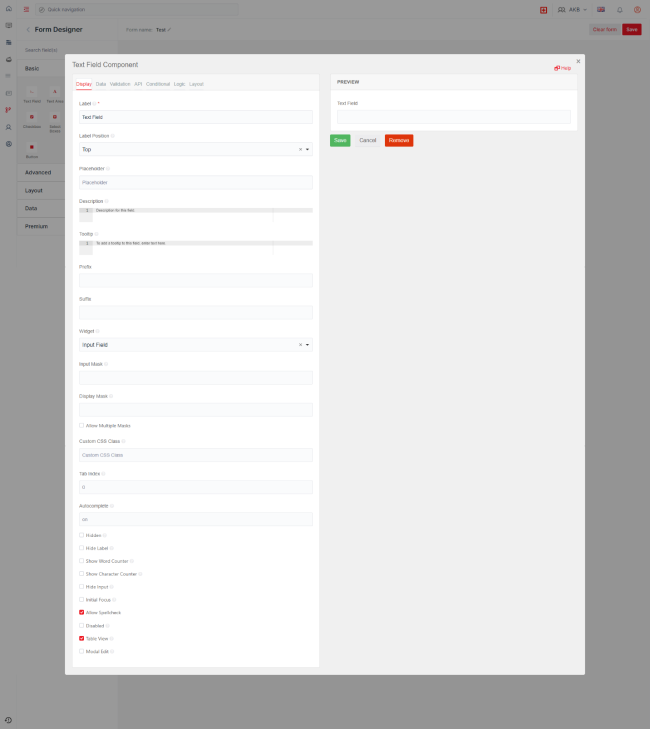
The below table describes frequently used configure:
| Configure | Description | Note |
| Display | Show components’ display in the form. | |
| Data | Default value which user can see in form. | |
| Validation | Authentication request to show components on the screen. | |
| API | Adjust components based on “Key” and “Value. | |
| Conditional | Place conditions for components. | |
| Logic | Logic to activate conditions in the form. | |
| Layout | Adjust layout of the form. |
Một số thành phần tạo biểu mẫu trên Form Designer có các mục khác nhau, ví dụ như:
Other components which create form in Form Designer have various configure:
| Component | Configure | Description |
| Date/Time | Date | Config available min and max options. |
| Time | Config up and down button to adjust. | |
| Day | Day | Config enter value dropdown list, or up/down button to adjust. |
| Month | Config enter value dropdown list, or up/down button to adjust. | |
| Year | Config enter value dropdown list, or up/down button to adjust (there are min and max options for you to choose). | |
| Edit Grid | Templates | Customize headers and rows of grid data |
4. Manage components in Form Designer
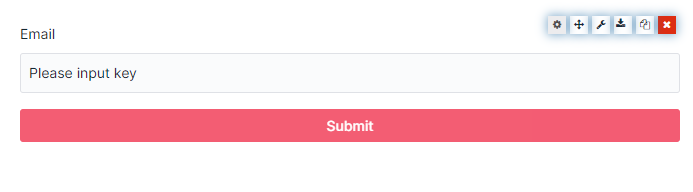
To reopen the configuration wizard, hover over the form element and select Edit.
To rearrange form components, select Move and drag components to another location within the created form.
To edit the form components by using the JSON settings, select Edit JSON. It will open the JSON component and display all available settings.
To copy a component inside the form, select Copy and then select Paste below to paste the copied component into the created form.
To remove a component from the form, select Remove.
5. Manage form in Form Designer
a. Manage list of form
To find a specific form in the list, enter the name of form in Search bar.
To copy a specific form in the list, click  , choose Clone, change the name of form in Name (required) and enter a brief description in Description (optional), then choose Clone.
To delete a form, click , then choose Delete, reconfirm it in the pop-up window by choosing Delete button.
b. Manage after creating/editing a form
To delete components in the created form, choose Clear form then click OK.
To save the created form, click Save.